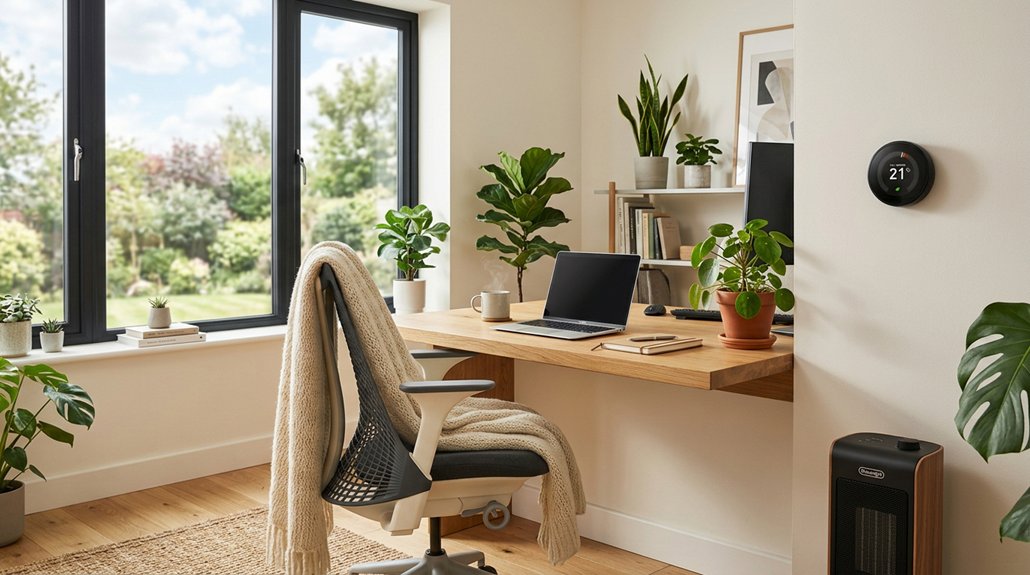
Set your seat so your feet are flat on the floor or on a footrest, and align the chair and desk so your elbows form a neutral 90‑110° angle. Choose a keyboard tray that can tilt negatively between –7° and –15° and set its height to match your forearms, keeping your wrists straight and parallel to the floor. Keep the mouse on the same flat surface at the same elevation. Use wrist rests only during breaks, not while typing. If you keep these adjustments, you’ll discover even more ways to protect your wrists.
Set Your Seat and Footrest for a Solid Base
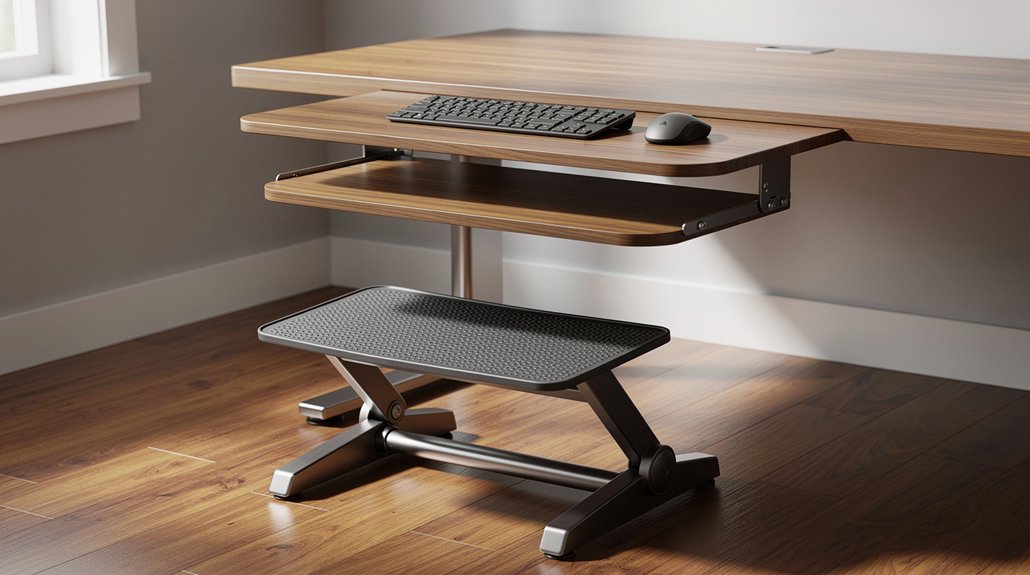
How can you create a rock‑solid base for your keyboard tray? Start by adjusting your seat height until your feet rest flat on the floor and your thighs sit parallel to the ground. This seating posture gives you a stable platform and keeps your hips level. If your desk is fixed and your feet can’t reach the floor, add a footrest; proper footrest use restores balance and prevents sliding.
Next, align the chair and desk so your elbows form a neutral elbow angle of about 90‑110 degrees. This angle keeps your wrists straight while you type, reducing torque on the forearms. A solid base also eases torso and shoulder strain, letting you transition smoothly between sitting and standing without compromising alignment.
Adjust Monitor Height to Keep the Neck Neutral
You’ll keep your neck neutral by setting the monitor’s top at eye level or just below, so your gaze stays straight ahead. This alignment lets your forearms stay parallel to the floor, preventing wrist strain. An adjustable arm makes it easy to fine‑tune the height as you switch between sitting and standing.
Eye Eye Level Alignment
Ever wondered why your neck feels stiff after a long typing session? When you set the monitor height so the top sits at eye level or just below, you keep your head upright and your shoulders relaxed. This alignment prevents forward head posture, which otherwise forces your elbows to drift forward and strains the wrist. A stable monitor height across sitting and standing lets your elbow alignment stay consistent, supporting a neutral wrist posture while you type. OSHA recommends placing the screen directly in front to reduce neck rotation, and a slight semicircular angle for dual displays minimizes twisting. By keeping the monitor at the right height, you protect the trapezius, shoulder, and wrist, allowing a smoother, strain‑free workflow.
Monitor Top Position
Adjust the monitor so its top edge sits at eye level or just below, keeping your neck neutral and preventing forward‑head posture. When you set the monitor height correctly, you reduce strain on the trapezius and shoulder muscles, which in turn supports a straight nerve pathway to the wrist. A well‑positioned screen also minimizes the need to tilt your head, helping you maintain a neutral neck while you type. This alignment directly contributes to wrist health by limiting excessive wrist extension and the resulting fatigue.
- Use a monitor arm to fine‑tune height and distance.
- Align dual screens in a shallow semicircle to cut neck rotation.
- Keep the top edge even with or just below eye level for consistent neutral neck posture.
Neck Neutral Support
A well‑positioned monitor keeps your neck neutral, which in turn eases the load on your shoulders and wrists. Set the screen top at or just below eye level so you can look straight ahead without flexing or extending the neck. Position the monitor in a slight semicircle and your work zone to limit rotation, and use an adjustable arm to keep the line of sight stable while you type. This neutral posture reduces tension in the trapezius and shoulders, directly supporting wrist health.
Whenever you tweak keyboard tray positioning or shift between sitting and standing, re‑check that the monitor height still allows a relaxed, straight‑ahead view. Consistently maintaining this alignment prevents forward‑head posture and the compensatory wrist strain that can arise from a misaligned setup.
Find the Ideal Elbow Angle (≈90°) for Tray Placement
How can you guarantee your elbows stay around a 90‑degree angle while typing? Aim for a tray height that lets your forearms sit parallel to the floor, keeping the elbow angle close to ninety degrees. When the tray is set correctly, your wrists stay straight, avoiding any upward, downward, or lateral bend, which preserves a neutral wrist position. If you notice the angle drifting, adjust the tray before you resume work. A consistent 90‑degree elbow angle reduces static load and eases carpal tunnel pressure, whether you’re seated or standing.
- Measure the distance from your elbow to the desk and set the tray height accordingly.
- Use an adjustable tray height mechanism to fine‑tune the position throughout the day.
- Check that your wrists remain neutral; if they flex, readjust the tray immediately.
Choose a Keyboard Tray With Negative‑Tilt Capability
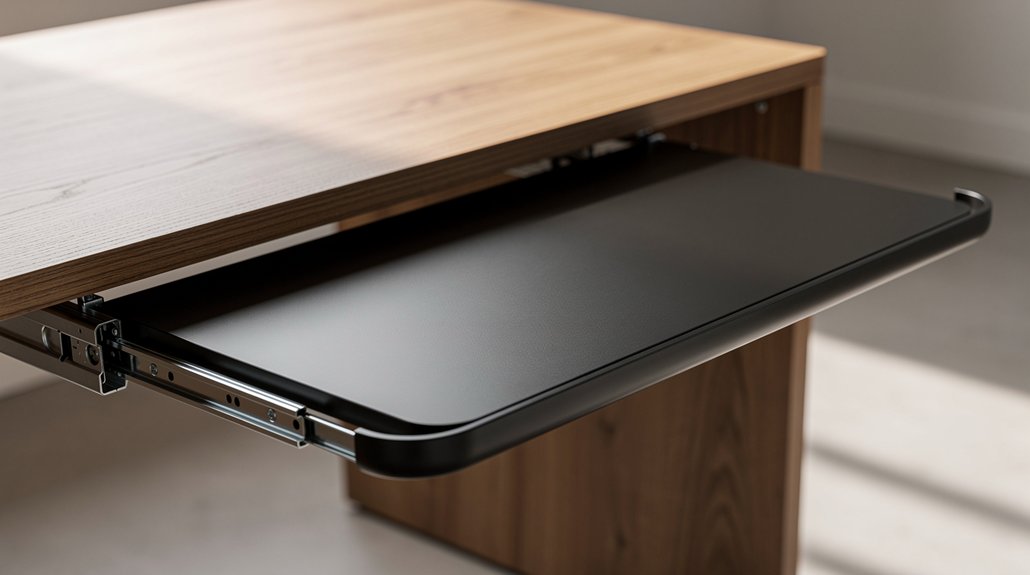
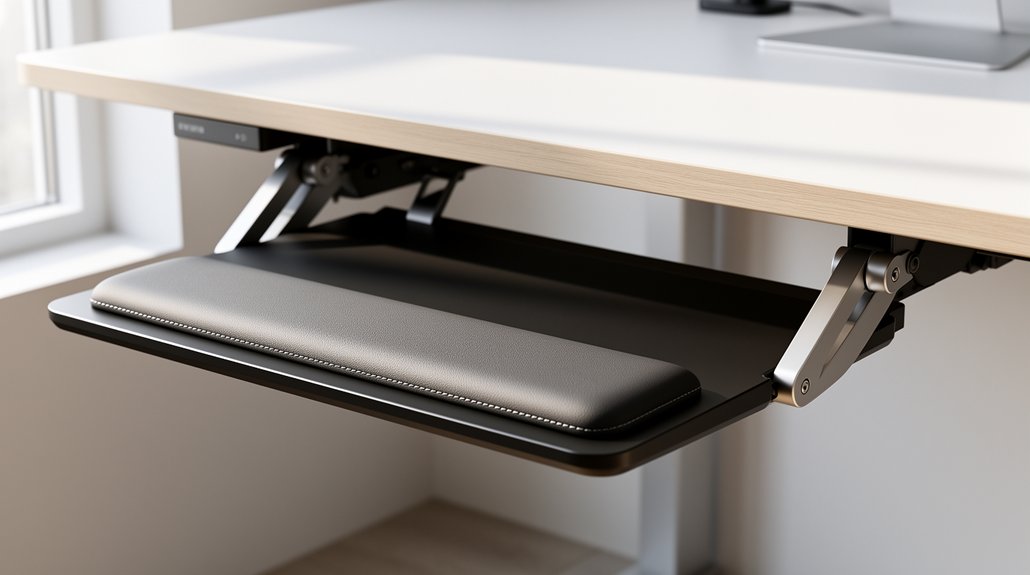
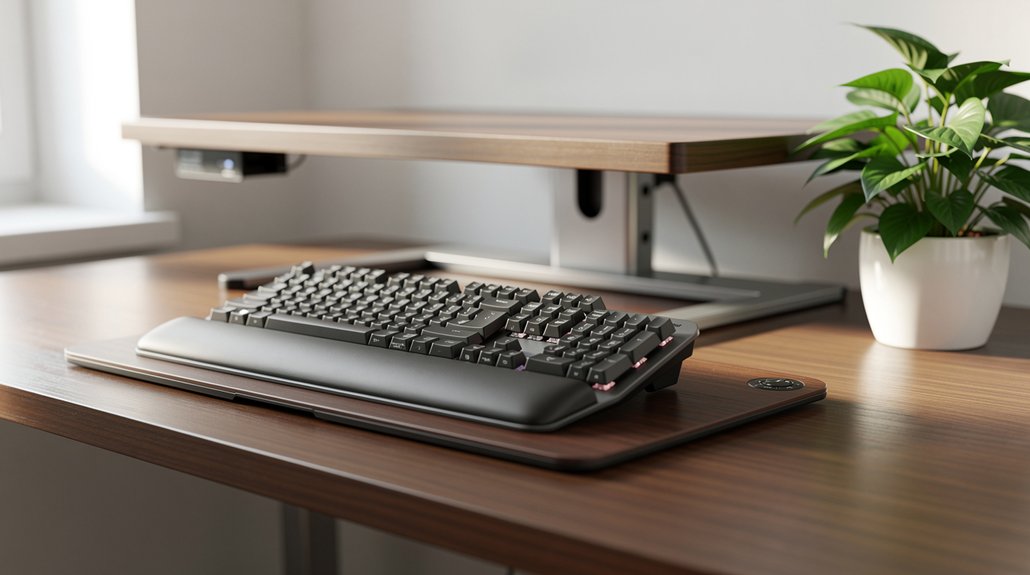
Looking for a tray that lets your hands stay straight while you type? Choose a keyboard tray with negative tilt so you can keep a neutral wrist alignment. A tilt range of –7° to –15° tilts the keys toward your forearms, preventing upward or downward wrist bends and lowering carpal‑tunnel pressure.
Make sure the model offers full‑range tilt adjustment, smooth sliding, and a dedicated mouse platform to keep the whole arm chain level. While you’ll still need height adjustability for 90° elbows, the negative tilt itself does most of the work aligning wrists with forearms.
Verify the tray’s stability and that it locks securely at your chosen angle, so you can type comfortably day after day.
Set Tray Height so Wrists Stay in Line With Forearms
Ever wondered how a simple height tweak can keep your wrists aligned with your forearms? You’ll achieve wrist alignment by setting the tray height so your elbows form roughly a 90‑degree angle and your forearms stay parallel to the floor. This neutral posture reduces strain and keeps the keyboard at or just below elbow level. Keep the mouse platform at the same elevation to avoid lateral deviation, and remember to readjust when you switch between sitting and standing.
- Align tray height with elbow height for a 90‑degree elbow angle.
- Keep forearms horizontal; wrists stay straight in line with forearms.
- Match mouse platform height to the keyboard to preserve neutral posture.
Tilt the Tray –7° to –15° to Lower Carpal‑Tunnel Pressure
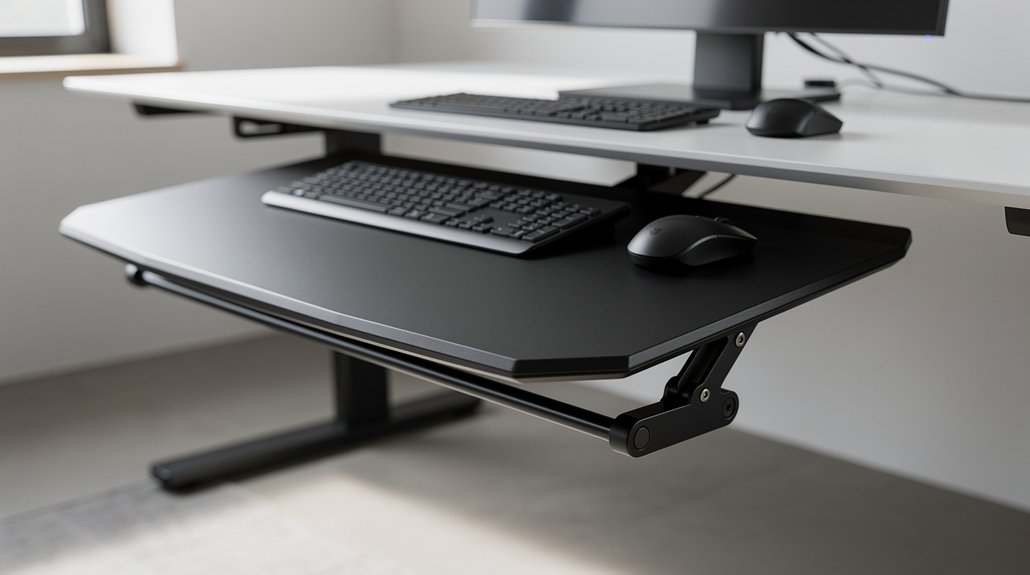
You’ll find that tilting the tray between –7° and –15° cuts carpal‑tunnel pressure by aligning your wrists with your forearms. This negative tilt keeps your hands in a neutral extension, which eases strain on the median nerve. Adjusting within this range lets you fine‑tune comfort while maintaining optimal wrist posture.
Negative Tilt Reduces Pressure
Why not try a slight downward slope on your keyboard tray? A negative tilt of –7° to –15° keeps your wrists neutral and eases carpal tunnel pressure. By angling the tray toward you, your forearms stay parallel to the floor, reducing ulnar and radial deviation that creates tendon friction. This posture lets shoulders relax, lessening static load on forearm muscles and preventing wrist extension. You’ll notice smoother keystrokes and better median nerve flow, which can lower the risk of long‑term discomfort.
- Set the tray to a gentle –10° angle for a balanced neutral wrist.
- Adjust chair height so elbows form a 90° angle, preserving the negative tilt effect.
- Take short breaks to stretch, reinforcing the reduced carpal tunnel strain.
Optimal Angle Enhances Alignment
A slight downward slope of the keyboard tray—between 7° and 15°—keeps your wrists in a neutral position and cuts carpal‑tunnel pressure. This negative tilt tells your forearms to line up with the desk, creating forearm parallelism that eases shoulder and elbow strain. When your elbows stay near 90°, the tray’s angle lets your hands glide without extension or flexion, preserving a neutral wrist posture throughout long sessions.
Studies show that a -7° to -15° tilt reduces median‑nerve strain compared with flat or positively tilted setups. Adjust the tray until you feel a gentle downward slope; you’ll notice less tension in tendons, smoother typing, and a healthier wrist alignment that supports productivity without pain.
Align the Mouse Platform Level With the Keyboard
Ever wondered how a flat, unified work surface can protect your wrists? When you keep the mouse platform level with the keyboard tray, you create a single plane that encourages a wrist neutral position. This alignment eliminates the need for sideways bends and keeps your elbows at a comfortable 90° angle, reducing forearm tension. Even with a negative‑tilt keyboard, maintaining mouse platform alignment prevents compensatory flexion or extension, so your posture stays stable whether you sit or stand.
A flat, unified work surface keeps wrists neutral, elbows at 90°, and forearms tension‑free.
- Set the mouse height equal to the keyboard tray.
- Center the mouse on the same riser surface.
- Keep the whole setup flat to preserve a straight wrist line.
Position the Tray Close Enough to Avoid Over‑Reaching
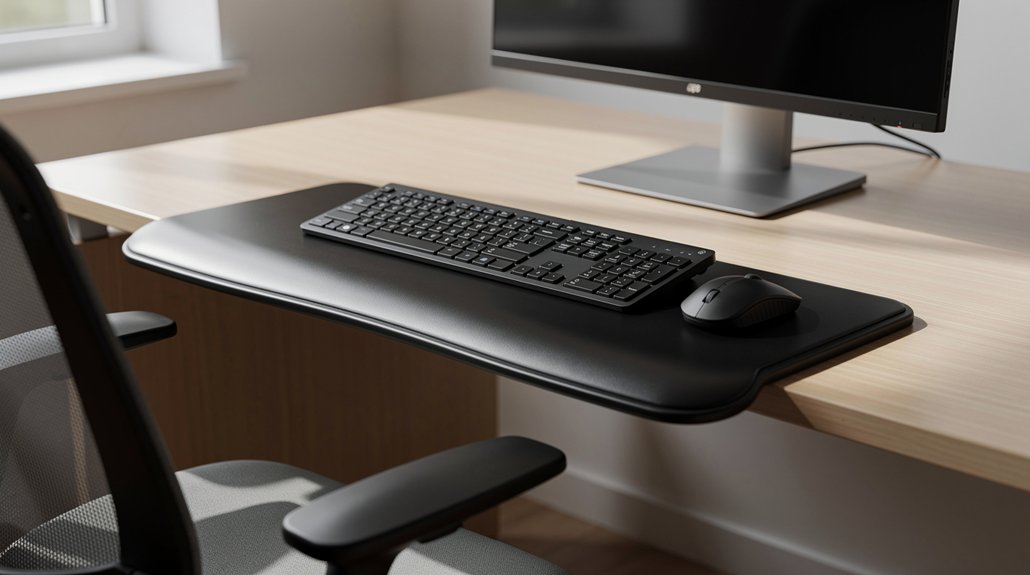
How close should your keyboard tray be to keep your elbows tucked in and your forearms parallel to the floor? You want the tray just in front of you, at or slightly below elbow height, so your elbows form a comfortable 90‑degree angle. Position the keyboard tray close enough that you don’t have to stretch your arms forward; this prevents over‑reaching and keeps your shoulders relaxed.
Keep the mouse on the same surface within easy reach, so you avoid extending your arm to the side. A slight negative tilt, about –7 to –15 degrees, helps maintain a neutral wrist while you type.
After you switch between sitting and standing, re‑check the placement to ensure the same neutral posture and to stop gradual over‑extension.
Swivel and Slide the Tray for Natural Shoulder Alignment
When you swivel and slide the tray into a centered position under your monitor, your shoulders stay naturally aligned and you avoid reaching to one side. A centered tray lets your elbows form a comfortable 90‑degree angle, keeping your wrists neutral as you type. Pair this with a slight keyboard tray tilt of –7 to –15 degrees to maintain a neutral wrist and reduce carpal tunnel pressure. The alignment also ensures the mouse stays on the same plane, preventing lateral wrist deviation. Adjust the height when you switch between sitting and standing to preserve the same shoulder alignment and wrist health.
- Center the tray under the monitor for even shoulder alignment.
- Set the tray tilt to a gentle negative angle for a neutral wrist.
- Keep the mouse level with the keyboard to avoid side‑reaching.
Apply the 20‑8‑2 Sit‑Stand‑Move Rhythm Daily
Wondering how to keep your wrists and shoulders healthy while working? Follow the 20‑8‑2 rhythm: sit 20 minutes with a neutral wrist on a tilted keyboard tray, stand 8 minutes at a height‑adjustable surface that keeps the tray at or just below elbow height, then move for 2 minutes with quick stretches. This cycle reduces static load and promotes circulation. Keep elbows at 90‑110° and shoulders relaxed during each phase. Pairing the rhythm with a negatively tilted tray sustains straight‑wrist posture throughout.
| Phase | Action |
|---|---|
| Sit | Neutral wrist, tray tilted, 20 min |
| Stand | Tray at elbow height, 8 min |
| Move | Finger/shoulder stretch, 2 min |
| Repeat | Loop every hour |
| Review | Adjust tray tilt as needed |
Use Wrist Rests Only During Breaks, Not While Typing
You’ll find that taking brief pauses with a wrist rest relieves pressure and lets the median nerve recover.
While you type, keep your hands floating or use a negative‑tilt tray so your wrists stay straight and unrestrained.
This contrast between break‑time support and active typing technique protects you from carpal‑tunnel compression.
Break Rest Benefits
Why take a break and actually rest your wrists? When you pause, you let the median nerve decompress and circulation surge, preventing the strain that builds during continuous typing. A short, intentional pause lets you place your hands on a wrist rest briefly, then return to a neutral wrist posture as you resume work. Consistent break timing—every 30–45 minutes—keeps static load low and muscles limber, making each typing session feel smoother and safer.
- Reset pressure – A brief rest on a wrist rest lowers nerve compression before you start typing again.
- Boost circulation – Pausing promotes blood flow to fingers and forearms, reducing fatigue.
- Reinforce posture – After the break, you naturally adopt a neutral wrist posture, protecting the carpal tunnel.
Typing Technique Impact
So, does typing with a wrist rest actually protect your hands? You’ll find that using a wrist rest while you type raises median nerve pressure and forces the wrist out of neutral alignment. Keep your hands floating above the keys, wrists flat and in line with forearms. A negative-tilt tray tilts the keyboard away from you, preserving a straight wrist posture and lowering carpal tunnel stress. Use the rest only during micro‑breaks—every 20–30 minutes—to support your palms while you pause. This routine maintains wrist alignment, prevents extension or flexion, and lets you type comfortably for longer periods.
| Situation | Recommended Action |
|---|---|
| Active typing | No wrist rest; keep neutral wrist |
| Breaks (20‑30 min) | Rest palms on wrist rest |
| Tray setup | Use negative‑tilt tray |
| Overall posture | Keep wrists flat, aligned with forearms |
Identify and Fix Common Tray‑Setup Errors Quickly
If your tray is too high, too low, or tilted the wrong way, you’ll quickly develop wrist extension, shoulder elevation, and increased carpal‑tunnel pressure. The key is to spot and correct setup errors before they become habits. Start by checking the keyboard tray height: it should let your elbows stay close to your body with forearms parallel to the floor, keeping a neutral wrist. Next, adjust the tilt: a slight negative tilt (front lower) encourages straight wrists, while a positive tilt forces upward bending. Finally, align the mouse on the same surface so you don’t reach or twist your wrist.
- Lower a too‑high tray to elbow level.
- Add a mild negative tilt to the keyboard surface.
- Position the mouse on the tray, matching the keyboard height.
Quick Daily Checklist for Wrist‑Healthy Workstation
How can you guarantee your workstation stays wrist‑friendly day after day? Start by checking that your keyboard tray sits below elbow height with a slight negative tilt, so your wrists remain straight. Verify that both keyboard and mouse align so your elbows hug your body at about 90°, and your forearms are parallel to the floor. Confirm the tray’s base slopes away, letting you reach key tops without bending wrists, and ensure the monitor is at eye level to keep shoulders relaxed.
Follow your workstation checklist: adjust tray tilt if you feel pressure, then set a timer for a 30‑minute break. During each break, stretch fingers, roll shoulders, and reassess posture before resuming work. This routine maintains a neutral wrist posture and reduces strain.
Review and Fine‑Tune Your Setup Each Month
You should schedule a monthly ergonomic check‑in to verify the tray’s height, tilt, and distance still support neutral wrist alignment.
Each visit, adjust the keyboard’s negative tilt if it drifted outside the –7° to –15° range, and make sure the mouse stays level with the keyboard.
Finally, note any numbness, tingling, or fatigue and tweak the setup until your wrists feel comfortable.
Monthly Ergonomic Check‑In
Ever wonder why a quick monthly check‑in can keep your wrists pain‑free? You’ll catch misalignments before they become habits, preserve neutral alignment, and keep your wrist posture comfortable. A brief routine saves you from long‑term strain.
- Measure keyboard tray height – ensure elbows stay near 90°, wrists straight, and the tray isn’t drifting.
- Inspect mouse platform level – verify it matches the keyboard’s vertical position to avoid bending.
- Check hardware and wear – tighten sliders, clamps, and mounting points; note any looseness or movement.
After you’ve verified height and hardware, log any numbness, fatigue, or discomfort you felt over the past month. Adjust tilt, distance, or height as needed, then repeat the cycle next month to maintain optimal wrist health.
Adjust Keyboard Tilt Regularly
Why not make a habit of checking your keyboard’s tilt each month? A slight downward keyboard tilt—about –7 to –15 degrees—keeps your wrists in a neutral wrist posture and reduces strain. Each month, reassess the tilt and make any needed monthly adjustments. If you feel pressure in the carpal tunnel or notice numbness, tweak the tilt to eliminate extension and bring your wrists back to alignment.
Pair each tilt change with elbow height tweaks so your forearms stay parallel to the floor and your elbows form roughly a 90° angle. Document the adjustment, noting comfort, fatigue, and motion range, so you can see how each small change improves static load reduction and circulation over time.
Track Wrist Comfort Metrics
A steady habit of checking your keyboard’s tilt sets the stage for systematic tracking of wrist comfort. Each month you’ll log three core metrics to see if your setup still supports a neutral wrist position and proper keyboard tray height.
- Pain score – Record average pain on a 0‑10 scale at rest and while typing; aim for a stable average below 2 across four workdays.
- Extension angle – Measure wrist extension using a neutral wrist line; keep deviation within 0‑5° to maintain a straight, flat wrist.
- Tray‑to‑elbow ratio – Note keyboard tray height relative to elbow height, ensuring elbows stay at 90‑110° and wrists stay flat during typical typing sessions.
Review these numbers monthly, adjust tilt or height as needed, and watch comfortable typing blocks grow from 20‑30 minutes to 45‑60 minutes.
Frequently Asked Questions
How Often Should I Replace My Keyboard Tray’s Padding?
You should replace the padding roughly every six to twelve months, depending on wear, sweat, and how often you type. If it feels flat, cracked, or no longer cushions your wrists, swap it out promptly.
Can I Use a Standing Desk With a Negative‑Tilt Tray?
Yes, you can use a standing desk with a negative‑tilt tray, but keep the tray height low enough so your elbows stay at a 90‑degree angle and your wrists stay neutral to avoid strain.
What Material Is Best for a Wrist‑Friendly Tray Surface?
You’ll find a soft‑touch silicone or a low‑friction matte polymer works best, because they cushion pressure, reduce heat buildup, and let your wrists glide smoothly without irritating skin or joints.
Do Split Keyboards Affect the Recommended Tray Tilt Angle?
Yes, split keyboards let you keep a flatter tray—around 0‑5°—because each half aligns naturally with your elbows, reducing the need for a steeper tilt to maintain neutral wrist posture.
Should I Adjust Tray Height When Switching to a Different Chair?
Yes, you should adjust the tray height whenever you change chairs. Align the keyboard so your elbows stay at roughly a 90‑degree angle, keeping wrists neutral and preventing strain.
In Summary
By setting a solid base, aligning your monitor, and positioning the tray so your elbows stay around a 90° angle, you’ll keep your wrists in line with your forearms and avoid strain. Choose a tray with negative tilt, use wrist rests only during breaks, and regularly check for common setup errors. Follow the quick daily checklist and fine‑tune your workstation each month—your wrists will thank you.