
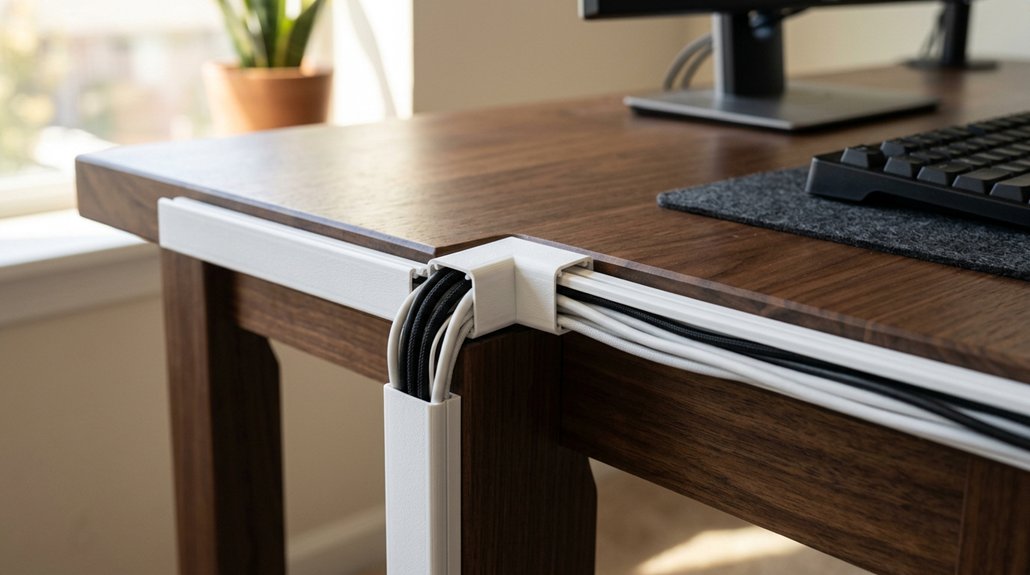
To install desk cable management raceways, start by clearing your workspace and unplugging cables. Choose a raceway that fits your needs, with open slots for easy access, and clean the mounting surface thoroughly. Peel off the adhesive backing and press the raceway firmly in place along your planned route, leaving slack for movement. Bundle and secure cables inside, avoiding overcrowding. With proper installation tips, you’ll keep your desk tidy—keep going for detailed guidance.
How to Choose the Right Cable Raceway for Your Desk
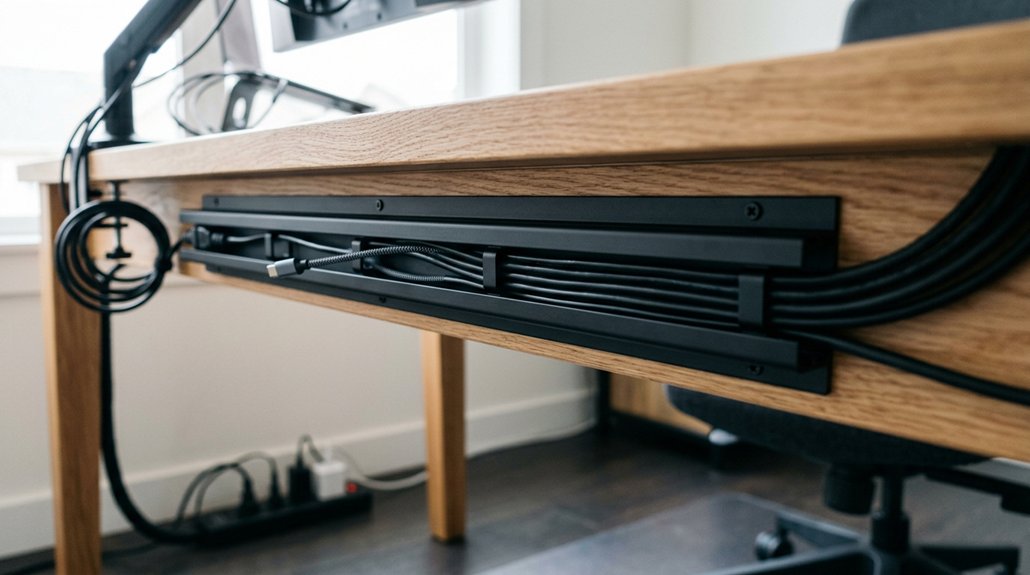
Are you unsure how to select the perfect cable raceway for your desk? Start by considering the number and thickness of your cables. Choose a cable raceway that can handle up to 10 power cords or accommodates cables up to 0.4 inches in diameter. Look for an open design or large internal slots to make adding, removing, or routing thick cables easier.
Think about your installation preferences: adhesive raceways are ideal for simple setups without drilling, while magnetic or screw-mount options provide more security and reusability. Pick a raceway made from durable, fireproof, impact-resistant materials like PVC to guarantee safety and longevity, especially if kids or pets are around.
Finally, match the size and style of the raceway with your desk space for seamless desk cable management.
Prepare Your Workspace Before Installing Cable Raceways
Before installing your cable raceways, it’s important to prepare your workspace to guarantee a smooth and efficient process. Start by clearing and decluttering your desk, unplugging all cables, and sorting them into groups based on how often you use them. This makes it easier to route and organize cables later. Using durable materials like PET or polycarbonate for your cable sleeves can help prevent wear and tear over time. Clean the mounting surfaces thoroughly with rubbing alcohol or a similar cleaner to confirm the adhesive tape-backed cable raceways stick securely. Measure and plan the cable routes, taking into account points like desk motor columns for adjustable standing desks, so you leave enough slack for movement. Gather all necessary accessories like adhesive tapes, straps, and clips now, so everything’s ready when you’re ready to mount your cable raceways and organize your desk effectively.
Step-by-Step: Installing and Routing Your Cable Raceway
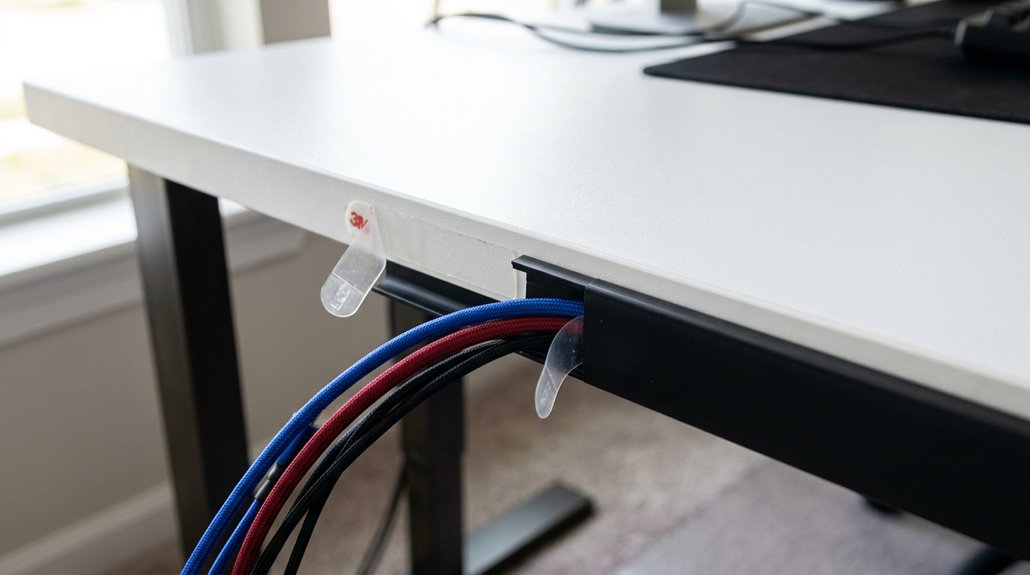
To install your cable raceways effectively, start by thoroughly cleaning the surface where you’ll mount them, ensuring the adhesive options stick securely. Measure and plan your cable route along your desk or wall, leaving slack and gentle S-curves for flexibility. Peel the backing off the adhesive tape included in your Raceway kit, then press each raceway firmly into place—no screws or drills needed. Position the raceways horizontally or vertically based on your layout. Use the open channel design to bundle cables with straps, clips, or Velcro ties for tidiness and easy access. Once installed, test the cable placement by adding or removing cables. Carefully peel off the adhesive if you need to remove the raceways to avoid surface damage. Proper surface preparation is crucial for a durable installation and long-term cable management efficiency.
How to Secure and Organize Cables Inside the Raceway
Securing and organizing cables inside the raceway is essential for maintaining a tidy and functional setup. Start by grouping and bundling your cables with Velcro ties or straps, which come with your cable management kit, to keep cords neat and prevent tangling.
Place the cables carefully inside the open or slotted design of the raceway, guaranteeing thick or multiple cables fit without overcrowding—consider raceways with larger internal openings for bulkier cables. Maintain slack and gentle curves to avoid tension and accommodate movement, especially with adjustable desks.
Use the cable holders or clips included in your kit to secure cables within the channel, preventing slipping. Adhesive quality plays a significant role in ensuring the clips stay firmly in place on various surfaces. When closing the raceway, confirm cables are accessible for future adjustments and avoid pinching or damaging insulation.
Tips for Routing Power, Data, and Audio Cables Effectively
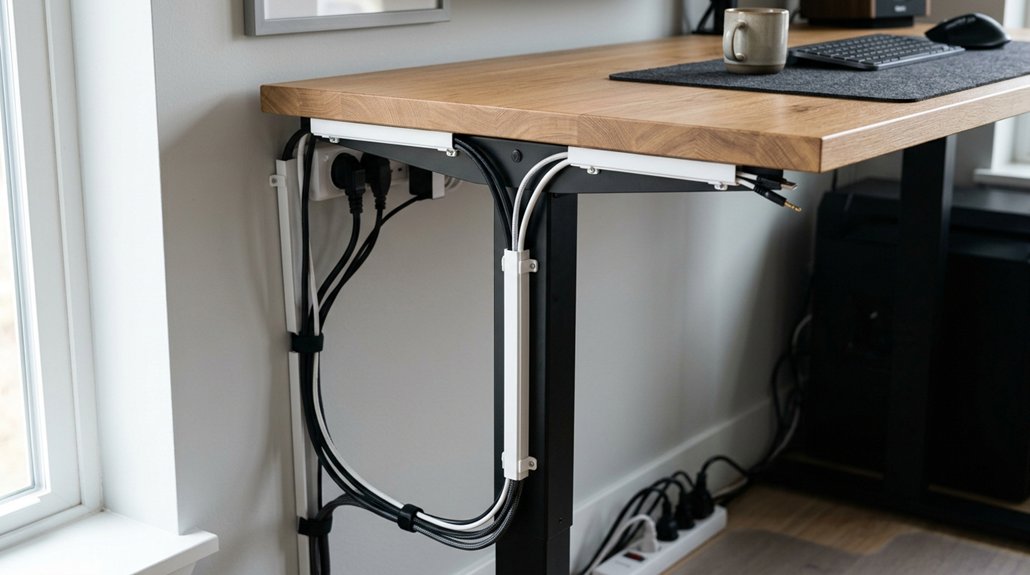
To keep your cables organized and avoid interference, make sure you separate power cables from data and audio lines by routing them through dedicated raceways. Use anchor points to secure cables in place, preventing tangling and reducing strain on connections. By maintaining proper separation and leveraging anchor points, you’ll create a clean, efficient cable setup that’s easy to adjust and troubleshoot. Incorporating fire-resistant materials in your cable management system can further enhance safety and durability.
Maintain Proper Cable Separation
Maintaining proper separation between power, data, and audio cables is essential for ensuring signal quality and reducing interference. When using a cable management kit, keep power cords apart from data and audio cables by at least a few inches. Use separate channels or compartments within your raceways to route these lines, preventing noise and crosstalk. Proper clamp compatibility and support help secure cables and prevent wobbles or stress on connections. Loosely bundle cables with Velcro ties every 12-18 inches inside the raceway, which helps avoid excessive bending and keeps airflow unrestricted for heat dissipation. Route frequently used audio and data cables in easily accessible sections, while power cords can stay fixed and out of the way. Labelling each cable or raceway section clearly simplifies future adjustments, enabling you to maintain organized, interference-free cable routing with minimal hassle.
Use Anchor Points Effectively
Effective use of anchor points can make a significant difference in keeping your cables organized and functional. Properly placed anchor points reduce cable strain, streamline cable management, and prevent tangling.
Position them near desk motor columns or natural flex zones to allow smooth movement when adjusting your standing desk height. Use adhesive or magnetic cable clips at these points to secure power, data, and audio cables separately. This separation prevents electromagnetic interference and keeps your desk wire tidy.
Remember to space anchor points every 12-18 inches for ideal support and easy access. Allow slack with loose S-curves to accommodate height adjustments without damaging cables. Incorporating ergonomic design principles can also help optimize cable routing and reduce wrist strain.
How to Maintain and Adjust Your Cable Management System Over Time
Over time, cables can shift or become disorganized as your workspace changes, so it’s important to regularly review and tweak your system. Periodic audits help keep your cable management tidy and effective. Unplug unused cables and tighten bundles with VELCRO ties every 3-6 months, reducing clutter. Replace worn adhesive tapes or reposition magnetic clips to maintain secure mounting without damaging surfaces. Adjust cable slack and raceway positioning to accommodate desk height changes or reconfigurations, preventing strain on connectors. Use straps and cable ties to reorganize cables after adding or removing devices, keeping cables separated and easy to identify. Regular inspections guarantee raceways and clips stay intact, especially in high-flex areas like near motors or entry points. Incorporating material durability into your maintenance routine ensures your system remains secure and long-lasting.
Troubleshooting Common Cable Raceway Problems
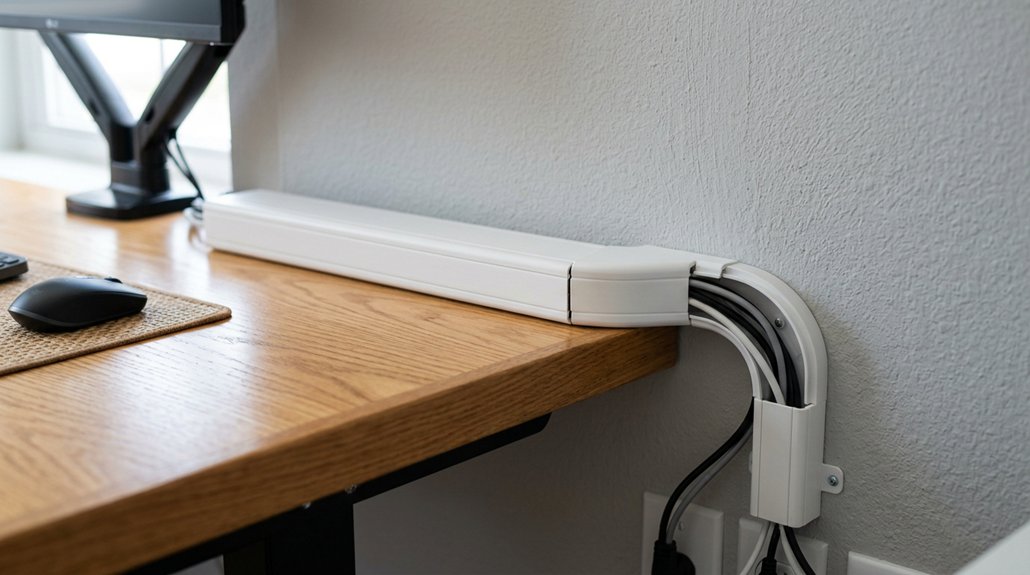
Adhesive failures can happen if you don’t properly prepare the surface or use the right tape.
Cable blockages or clumping often result from overcrowding or incorrect cable routing.
Addressing these issues quickly helps maintain a clean, functional cable management system.
Adhesive Failure Risks
When the mounting surface isn’t properly prepared, the adhesive on cable raceways can fail prematurely. Dust, oil, or uneven surfaces weaken tape bonds, leading to potential peel-offs.
To guarantee strong adhesion, thoroughly clean the area with alcohol before installing your cable management kit or attaching a J Channel. Be cautious with painted walls, as the tape’s strength may remove paint or leave residue—test a small spot first or consider alternative mounting methods.
Factors like high humidity, temperature swings, or moisture exposure also diminish adhesive effectiveness over time. Overloading raceways with heavy cables or improper placement further stresses the adhesive bonds.
For removal, do it gradually following the safe removal guide to prevent surface damage and preserve adhesive integrity for future use.
Cable Blockages and Clumping
Cables can easily become blocked or tangled inside raceways if you don’t pay attention to their size and arrangement. Overloading the raceway with thick or numerous cables—exceeding the 0.4-inch internal slot diameter—causes clumping and makes cable management difficult. A modular expansion system can help organize different types of cables more effectively by allowing designated sections for each category. To prevent this, keep cables organized in loose S-curves and group similar cables together, avoiding haphazard bundling. Choosing raceways with larger holes designed for thick cables, like heavy power cords or multiple Ethernet lines, can also reduce congestion. Proper installation on clean surfaces, securing cables with Velcro ties or holders, prevents shifting that leads to blockages. Regular checks to remove unused cables and loosen tight bundles help maintain efficient cable management, keeping your raceway clear and functional over time.
Frequently Asked Questions
Can Cable Raceways Be Removed or Repositioned Later?
Yes, you can remove or reposition cable raceways later. Use a putty knife or similar tool to gently pry them off without damaging your surface. Reattach or reposition by cleaning surfaces and using suitable adhesive or clips.
What Materials Are Best for Different Desk Surfaces?
You should choose materials like plastic for lightweight desks, aluminum for durability, or wood for aesthetics. Consider your desk surface’s material, weight, and style, ensuring the raceways adhere well and blend seamlessly with your desk’s finish.
How Do I Prevent Cables From Slipping Out of the Raceway?
You prevent cables from slipping out by ensuring they’re snugly fitted into the raceway. Use a lid or cover to keep cables secure, and avoid overstuffing to maintain a tight hold, preventing any accidental slips or disconnections.
Are There Alternative Methods for Cable Management Besides Raceways?
Yes, you can use zip ties, adhesive clips, cable sleeves, or under-desk trays as alternatives. These options help organize and secure your cables, preventing slipping and clutter, while also offering flexible and easy-to-install solutions for your workspace.
How Do I Clean and Maintain the Raceway Over Time?
You should regularly dust and wipe your raceway with a damp cloth to keep it clean. Check for dirt or buildup, and guarantee the cover stays securely in place. Avoid harsh chemicals to prevent damage.



Leave a Reply