Elevate your monitor to eye level and use a riser with built‑in drawers to free the desk surface. Set shelf height so your most used items sit within arm’s reach, and group tools by how often you need them—daily essentials in the primary zone, occasional items on higher or farther shelves. Add vertical storage like wall‑mounted racks and label bins consistently with color codes. Tidy cords with under‑desk clips, sleeves, or a hidden drawer, and finish with a quick 5‑minute reset; keep going and you’ll discover more ergonomic tricks.
Set Desk Shelf Height to Match Eye‑Level Reach

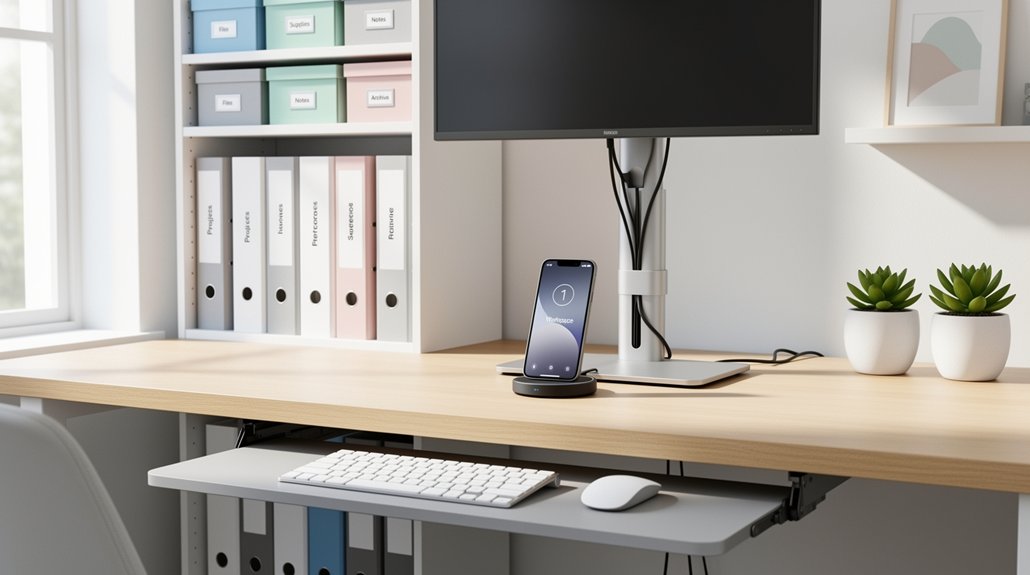
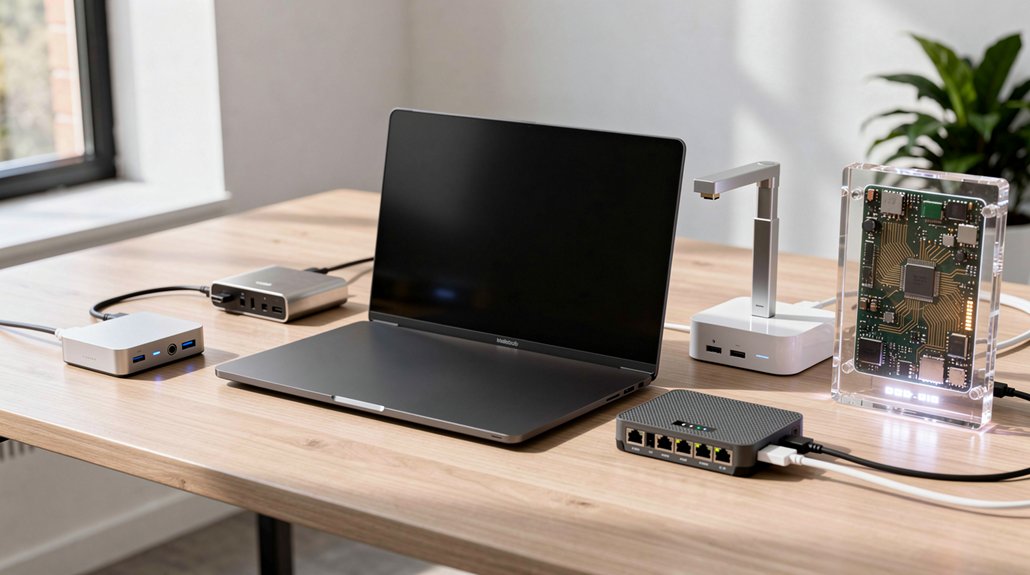
By aligning your desk shelves with your eye‑level reach, you eliminate unnecessary stretching and keep the most used items within a natural line of sight. Place the most accessed tools in the Primary Zone, the area closest to your torso, so you can grab pens, notepads, or a mouse without leaning forward. Use a monitor riser that doubles as vertical storage to lift the screen and webcam to Eye Level, freeing desk surface and reducing neck strain.
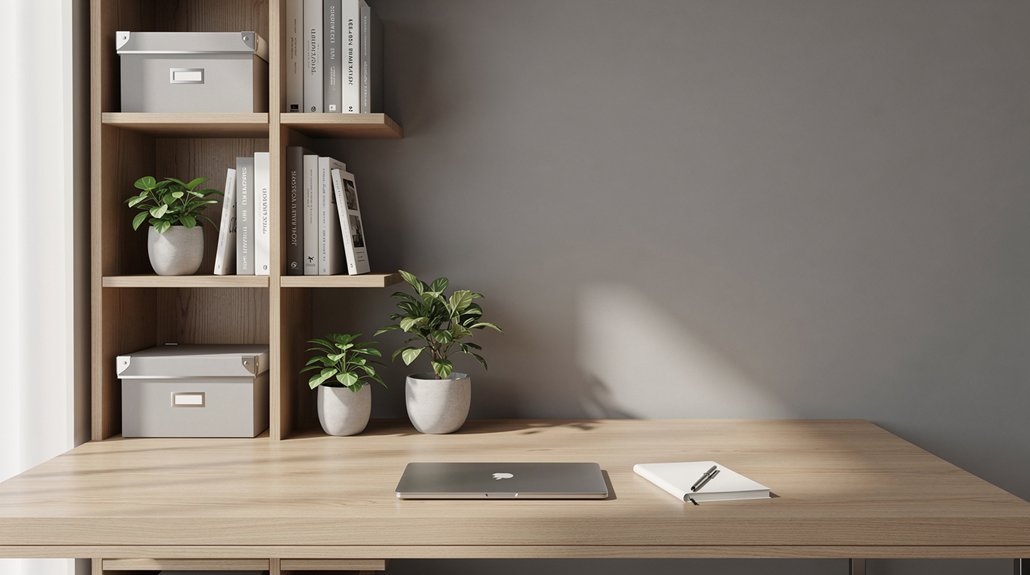
Mount additional shelves just above the Primary Zone; they act as Vertical Storage that keeps reference books or a tablet within easy view while you stand to retrieve higher items. This arrangement streamlines movement, maintains ergonomic posture, and maximizes workspace efficiency.
Group Items by Frequency for Quick Access
Ever wonder how a simple re‑arrangement can slash the time you spend hunting for tools? Start by mapping your desk zones: the primary zone sits within arm’s reach, the secondary zone a short stretch away, and the tertiary zone farther out. Place your keyboard, mouse, pens, phone, and any daily‑use notebooks in the primary zone. Use frequency grouping to keep these items on the surface or in a nearby organizer, so you grab them without leaning. Store less‑used reference books or spare supplies in the secondary or tertiary zones, perhaps on a higher shelf. Review your layout weekly; if a tool climbs the usage ladder, move it forward, and shift rarely used items back. This dynamic desk organization sustains an ergonomic workspace while cutting retrieval time.
Use Vertical Storage to Free Up Desktop Space
You can maximize vertical real estate by adding wall‑mounted shelves and hanging organizers, freeing your desktop for active tasks. Keep frequently used items within arm’s reach on lower shelves while storing reference materials higher up. This layout streamlines surface accessibility and maintains a clean, ergonomic workspace.
Maximize Vertical Real Estate
When you turn the wall into a storage partner, you instantly free up horizontal desk space. Install vertical storage like wall‑mounted organizers and floating shelves to lift files, books, and accessories off the desktop. A riser with built‑in drawers elevates your monitor to eye level while tucking pens, planners, and chargers beneath, preserving an ergonomic desk setup.
Use pegboards for quick‑grab tools and label tray systems on tiered shelves to sort mail and projects without crowding the work area. Stack multi‑level organizers to increase density, keeping the main surface clear for typing. By anchoring these elements to the wall, you create a tidy, reachable zone that supports posture, reduces strain, and maximizes vertical real estate.
Streamline Surface Accessibility
If you anchor storage to the wall, you instantly free the desk surface for the tasks that matter most. A monitor riser with built‑in shelves lifts your screen while holding pens, notepads, and chargers within arm’s reach, boosting accessibility. Use vertical storage like floating shelves, hanging file organizers, and stackable trays to keep reference books and bulk supplies off the desktop. Place daily essentials in the primary zone, then shift less‑used items to secondary and tertiary zones. Label each shelf by project so you retrieve items quickly without hunting. The result is a tidy, ergonomic workspace that lets you focus on work instead of clutter.
| Zone | Typical Items |
|---|---|
| Primary | Monitor riser, pens, chargers |
| Secondary | File folders, notebooks |
| Tertiary | Reference books, bulk supplies |
Label Shelves and Bins for Consistent Retrieval
You’ll notice that standardizing label formats makes every shelf and bin instantly recognizable, while color‑coded bins let you spot categories at a glance.
By keeping the style consistent across primary, secondary, and tertiary zones, you cut search time and avoid confusion.
Updating the labels during regular audits ensures the system stays accurate as projects evolve.
Standardize Label Formats
Ever wondered how a simple label can cut your search time in half? You can boost your organization system by applying consistent labeling standards across every shelf and bin. Use a naming convention like “Shelf 01 – Project Files – 2024‑03” and keep font, size, and color uniform. Place labels at eye level on the front of each zone, and add concise keywords plus a date stamp for quick scanning. Keep a master legend nearby so you can cross‑reference digital inventories and avoid misplacements.
| Zone | Example Label |
|---|---|
| Primary | Shelf 01 – Supplies – 2024‑01 |
| Secondary | Bin A – Receipts – 2023‑12 |
| Tertiary | Shelf 02 – Manuals – 2022‑06 |
Use Color‑Coded Bins
Color‑coded bins turn a cluttered desk into a visual map, letting you spot pens, cables, or reference materials at a glance. By pairing hue with clear labels, you boost organization and accessibility while cutting search time. Assign each bin a distinct color that matches its priority—red for urgent docs, blue for reference, green for supplies—so your brain instantly knows where to look. Keep the naming convention consistent across shelves, and audit the scheme weekly to stay aligned with project shifts.
- Red – urgent documents, always within arm’s reach.
- Blue – reference materials, low‑stress retrieval.
- Green – everyday supplies, high‑visibility zone.
- Yellow – temporary items, easy to rotate out.
This system streamlines workflow, reduces cognitive load, and makes re‑shelving effortless.
Apply Cable Management for a Clean Ergonomic Setup
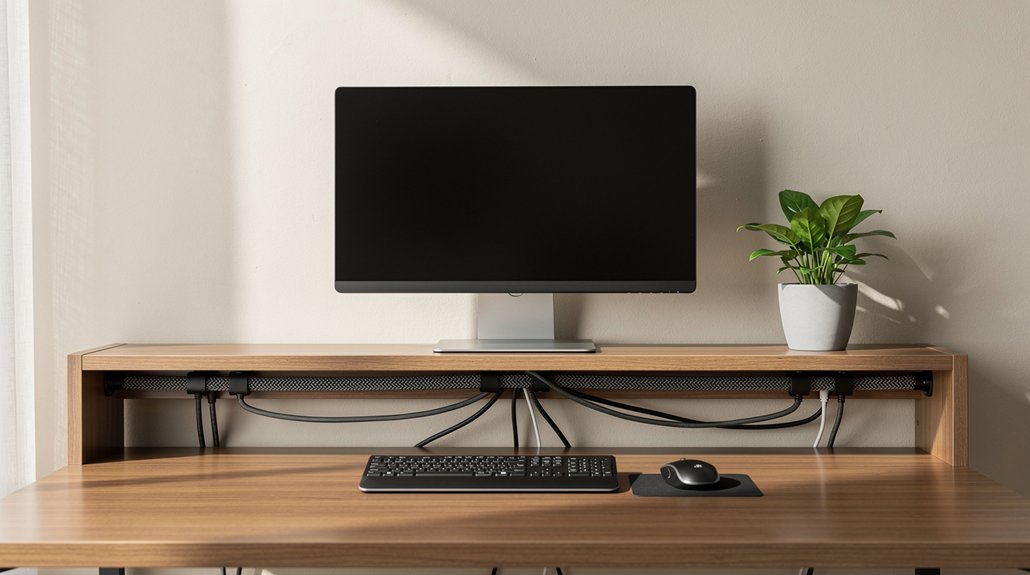
How can you keep your workspace tidy while staying ergonomically sound? Good cable management eliminates desk clutter and supports under‑desk organization. Start by attaching peel‑and‑stick clips to the desk’s underside; they hold cords out of sight and free your surface. Bundle wires with cable sleeves, then run the single, neat bundle along the back edge or beneath the desk. Mount power strips and hardware under the desk to keep the top clear and still stay easily reachable. Use vertical solutions like grommets and under‑desk trays to route monitor, keyboard, and printer cords to a centralized power source. Finally, label each cable by function—power, data, peripherals—so you can reconfigure quickly without tangles. This streamlined setup reduces visual distraction and promotes a healthier posture.
Create a Daily Reset Routine to Maintain Organization
Wondering how to keep your desk functional and stress‑free day after day? A daily reset routine of 5‑10 minutes at day’s end locks in desk organization and protects your ergonomic workspace. You’ll wipe surfaces, return tools, tidy cables, close stray tabs, and jot three priorities for tomorrow. Consistency turns chaos into calm and primes you for focused mornings.
- Clear the surface – place every item back in its designated home.
- Scan for hidden clutter – spot zones that could spill over tomorrow.
- Tidy digital space – close unnecessary tabs, organize downloads, clean the desktop.
- Set the top three tasks – write them down to jump‑start focus.
Follow this quick checklist each evening and your desk stays orderly, your mind stays sharp, and your ergonomic workspace feels inviting every day.
Quick Checklist: Ergonomic Desk Shelf Essentials

Where can you find the essential items that keep your ergonomic desk both functional and clutter‑free? Start by designating a primary zone right in front of you—keep pens, a notepad, and your phone within easy reach so elbows stay relaxed.
Add vertical storage like wall‑mounted shelves or tiered trays to lift books, manuals, and reference materials off the desktop; label each level for quick retrieval.
Use a monitor riser with built‑in compartments to elevate the screen, free surface space, and place the webcam at eye level.
Implement under‑desk cable management with clips, sleeves, or a drawer in the monitor stand to hide cords and prevent tangles.
Finally, assign a dedicated shelf for daily essentials and another for occasional items, maintaining a tidy, ergonomic workspace.
Frequently Asked Questions
What Are the 3 P’s of a Clean Desk?
You follow the 3 P’s: purge clutter, place everything in a dedicated spot, and prioritize by keeping often‑used items within easy reach while storing rarely‑used stuff farther away.
How to Make Your Desk Setup More Ergonomic?
You’ll raise the monitor, keep essentials within arm’s reach, use vertical storage, manage cables, and reset daily—minimizing strain, keeping posture neutral, and maintaining a clear, focused workspace.
What’s the Most Efficient Desk Organizer Layout?
You’ll find the most efficient layout by grouping daily essentials in a primary zone, using vertical tiers for secondary items, and placing reference material in a tertiary zone, keeping everything within arm’s reach.
How to Organize a Desk in ADHD?
You’ll zone your desk into labeled zones—active tasks, frequent items, reference—use an Inbox‑Outbox tray system, scan paperwork, keep only essentials on surface, and schedule a 5‑minute daily reset.
In Summary
By setting shelf height to eye level, grouping items by use, and stacking vertically, you’ll keep everything within easy reach and free up desktop space. Label bins, tidy cables, and stick to a quick daily reset to maintain a clutter‑free, ergonomic workstation. Follow these simple steps, and your desk will stay organized, efficient, and comfortable all day long.
Leave a Reply