Start by measuring your ceiling, including obstacles, and marking precise layout lines with a laser level. Choose sound-absorbing tiles with high ratings, and mark reflection points for ideal placement. Support suspension wires or use anchors for direct-mount tiles, ensuring panels hang 6-18 inches below the ceiling. Secure each panel carefully, maintaining even gaps and sealing edges for better sound control. For more detailed steps and tips, keep exploring how to perfect your acoustic setup.
Determine Your Acoustic and Space Needs
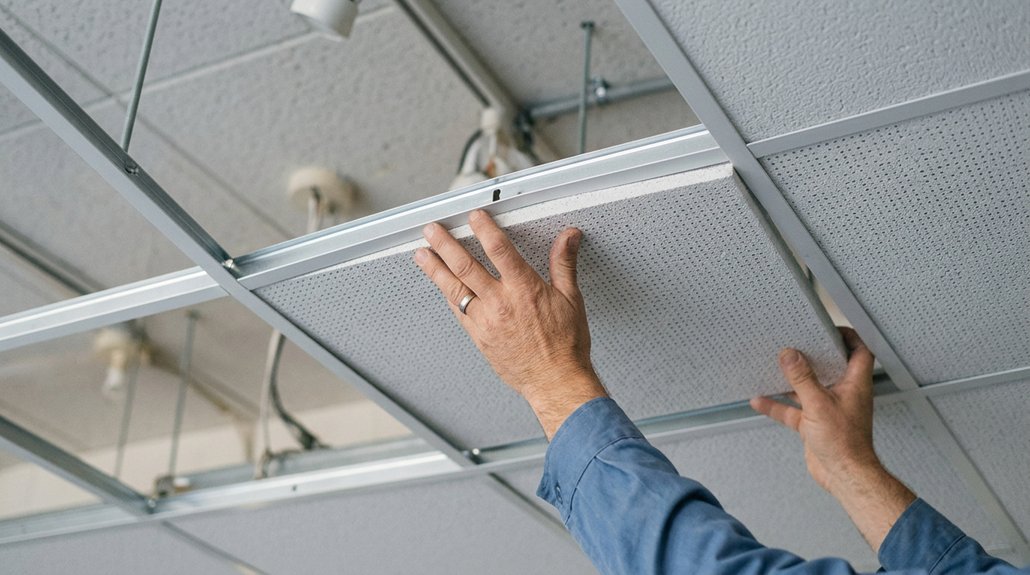
Before installing acoustic ceiling tiles, it’s crucial to identify your specific needs for the space. Determine if your goal is to reduce echo, improve speech clarity, or control overall noise levels, based on the room’s function like offices or conference rooms. Proper panel placement targets these reflection points, enhancing sound absorption. Additionally, considering the material composition of panels can influence their effectiveness and safety, especially regarding fire resistance and eco-friendliness. Select acoustic ceiling tiles with the right sound absorption ratings, considering both functionality and aesthetics. Understanding your space and acoustic goals guides ideal panel placement and guarantees the tiles serve their purpose effectively.
Select the Best Acoustic Ceiling Tiles for Noise Reduction
Choosing the right acoustic ceiling tiles greatly impacts how well your space manages noise. Look for acoustic ceiling panels that offer high sound absorption, such as glass wool tiles with Class A ratings, to effectively reduce noise across various frequencies. Opt for modular or cloud panel designs to improve sound clarity and prevent echoes, especially in offices or conference rooms. In environments like healthcare or high-humidity areas, choose washable and moisture-resistant panels to maintain hygiene and performance. Always select tiles with fire-resistant certifications for safety without sacrificing sound absorption. Focus your ceiling installations on key noise sources and reflection points for maximum acoustic efficiency. Additionally, understanding sound absorption properties can help you select the most effective tiles for your specific needs.
Plan Your Ceiling Layout and Mark Installation Points
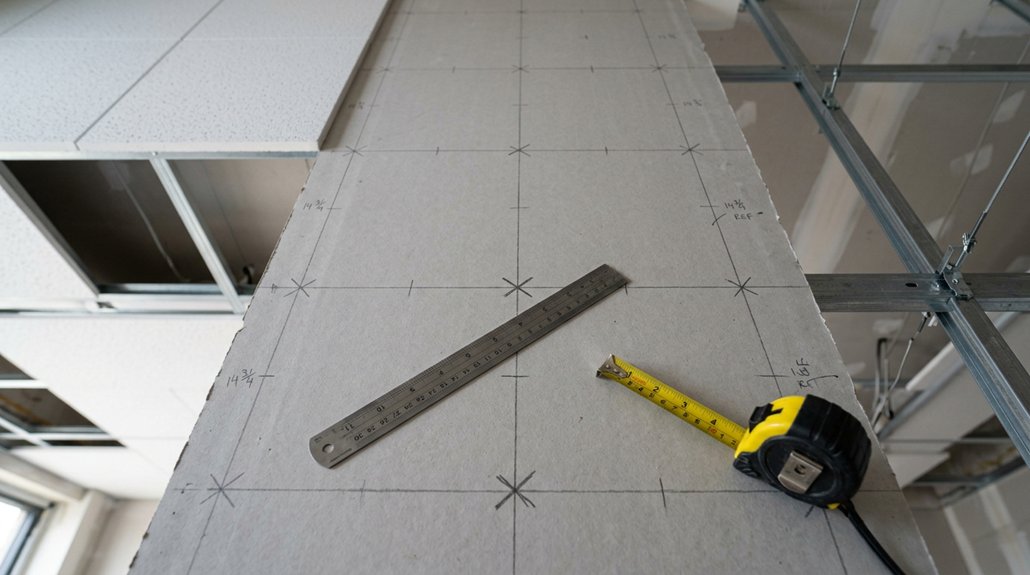
Start by carefully measuring your ceiling’s full width and length, noting obstacles such as HVAC ducts, lighting fixtures, or sprinklers that could interfere with tile placement. Use a tape measure to get accurate measurements.
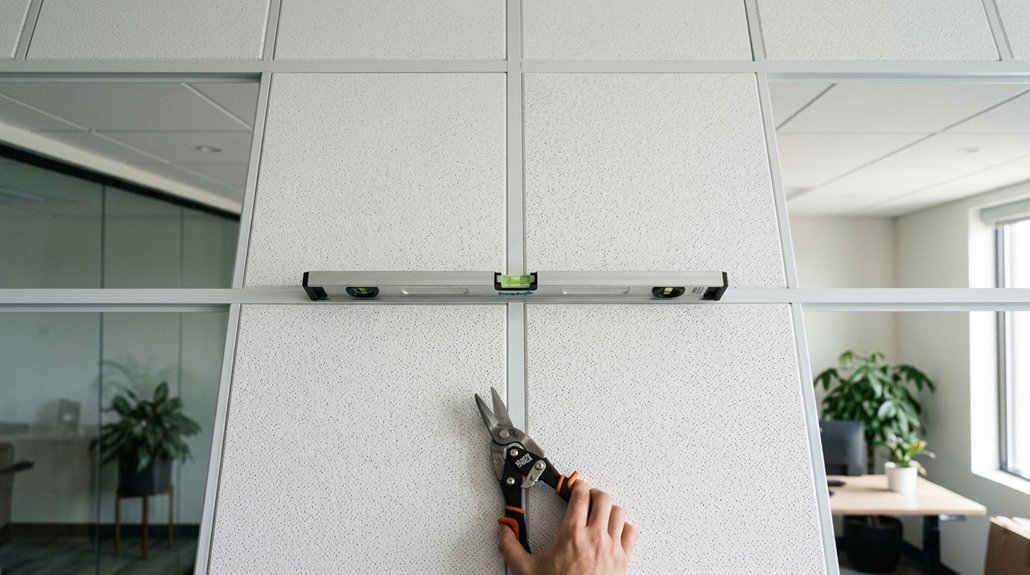
Then, employ a laser level to create straight reference lines across the ceiling, ensuring precise panel placement and alignment.
Check for ceiling joists or structural support points with a stud finder or deep scan device; marking these helps you know where to secure suspension hardware or furring strips.
Plan your tile layout by focusing on key zones like workstations or meeting areas, and position acoustic panels on first reflection points for maximum sound absorption.
Finally, measure wall-to-wall distances to calculate border tile widths, ensuring a balanced and professional finish. You can also consider mounting options that improve the stability and aesthetic appeal of your ceiling tiles.
Install Suspended or Direct-Mount Acoustic Ceiling Tiles Correctly
To install suspended or direct-mount acoustic ceiling tiles effectively, you need to follow precise suspension and attachment methods. Make sure your hanger wires and grid components are correctly supported, and use the right anchors for direct mounts to prevent movement. Utilizing appropriate mounting hardware, such as toggles or anchors, ensures a secure installation, especially for heavy tiles or when mounting into drywall. Properly spacing and securing your tiles guarantees peak sound absorption and a professional finish.
Proper Suspension Techniques
Proper suspension of acoustic ceiling tiles hinges on accurately marking ceiling points and securely attaching support hardware, such as eye bolts or anchors rated for the panel weight plus a safety margin. Use an adjustable cable or hanger wire to suspend the panels, allowing easy leveling and consistent air gaps of 6 to 18 inches for peak sound absorption. When installing a suspended grid, confirm anchor points are evenly spaced and capable of supporting the load. Additionally, selecting durable materials for support hardware ensures long-term safety and stability.
Precise Direct Mount Methods
Accurate measurement and planning form the foundation for successful installation of direct mount or suspended acoustic ceiling tiles. Use a laser level to precisely mark the ceiling area, guaranteeing correct panel layout and alignment. Installing whiteboards or acoustic panels with surface resistance to ghosting ensures your installation remains clear and legible over time. For direct mount systems, select appropriate mechanical anchors—toggle bolts for drywall or masonry anchors for concrete—and fix mounting brackets with 1/4 to 1/2 inch spacing gaps for peak acoustic performance.
If you’re installing suspended ceilings, begin by attaching wall angles, hangers, and grid runners, typically spaced every 24 inches with 15/16-inch grid faces. Maintain a 6 to 18-inch air gap above the panels to promote sound absorption.
Frequently check levelness during installation to guarantee a clean, professional finish.
Handle Common Installation Challenges and Secure Your Panels
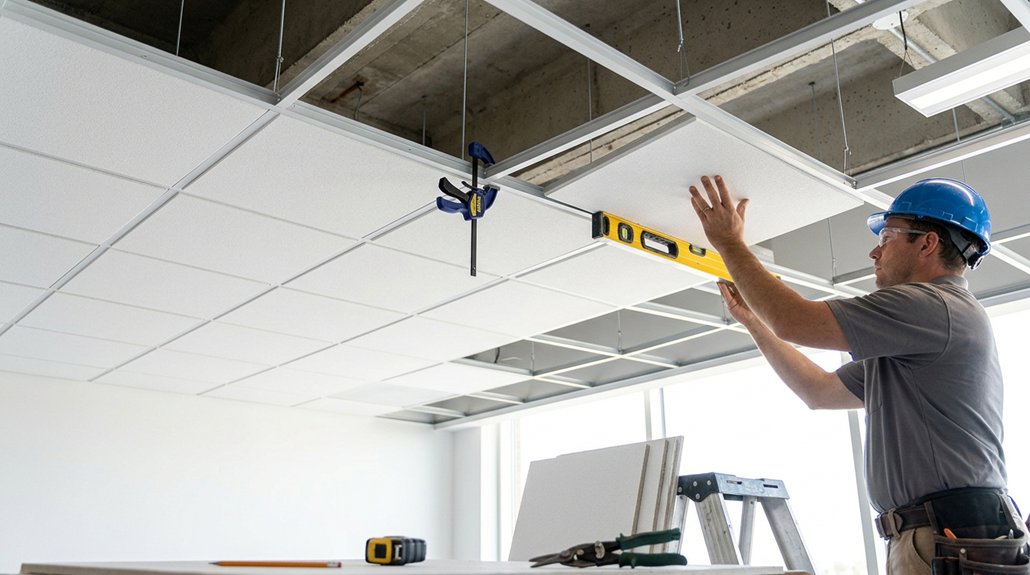
Handling common installation challenges is essential for guaranteeing your acoustic ceiling tiles stay secure and look professional. Use manufacturer-recommended anchors rated for the panel weight, like toggle bolts for drywall or masonry anchors for concrete ceilings. Proper panel mounting is key; confirm each anchor is secure to prevent sagging or shifting.
Address uneven ceilings by adjusting hanger wires or shimming behind brackets to keep panels level. To avoid acoustic gaps, strategically place panels at first reflection points and maintain consistent spacing—whether using 1/4 to 1/2 inch gaps or matching grid faces.
Use chalk lines for accurate layout, and verify all panels are securely seated with no sag. Seal edges with acoustic sealant to prevent sound leaks and preserve a clean, professional appearance. Additionally, selecting durable materials and finishes can help maintain their appearance over time.
Final Inspection and Tips for Maintaining Your Acoustic Ceilings
Conducting a thorough annual inspection is essential to keep your acoustic ceiling functioning effectively and maintaining its appearance. During your final inspection, look for signs of damage, staining, displacement, or sagging to guarantee lasting acoustic performance. Examine the panels for any damage or staining, ensuring they are free from marks or cracks that could compromise their sound-absorbing properties. Verify that all acoustic panels are securely seated within the grid or mounting system, with consistent spacing and no gaps, which helps sustain sound absorption efficiency. Regularly clean the panels using standard commercial methods to prevent deterioration, especially in high-humidity environments. To stay organized, document the installed layout with photos and diagrams for future maintenance or repairs. Finally, keep clear access to the plenum above the ceiling to facilitate mechanical system upkeep without disturbing your panels. Proper maintenance preserves sound quality and appearance over time.
Frequently Asked Questions
How to Attach Acoustic Tiles to a Ceiling?
You attach acoustic tiles to a ceiling by using adhesive on smooth surfaces, stapling to furring strips, or laying into suspended grids, ensuring proper spacing and level installation. Carefully cut around fixtures for a neat, secure fit.
Can I Attach Ceiling Tiles Directly to Joists?
Yes, you can attach ceiling tiles directly to joists. Use furring strips or anchors, guarantee they’re level, and fasten tiles with nails or staples. This method works well for uneven surfaces or exposed joists.
What Is the Best Adhesive for Acoustic Ceiling Tiles?
The best adhesive for acoustic ceiling tiles is a high-quality, construction-grade adhesive made specifically for ceiling applications. You apply it in dots or beads, test it first, and choose a quick-grab, low VOC adhesive compatible with various surfaces for a durable, safe bond.
Do Acoustic Ceiling Tiles Absorb Sound?
Yes, acoustic ceiling tiles absorb sound by reducing reverberation and echo, enhancing speech clarity and lowering ambient noise levels. You’ll notice a quieter, more focused environment as these tiles trap and dissipate airborne sound waves effectively.