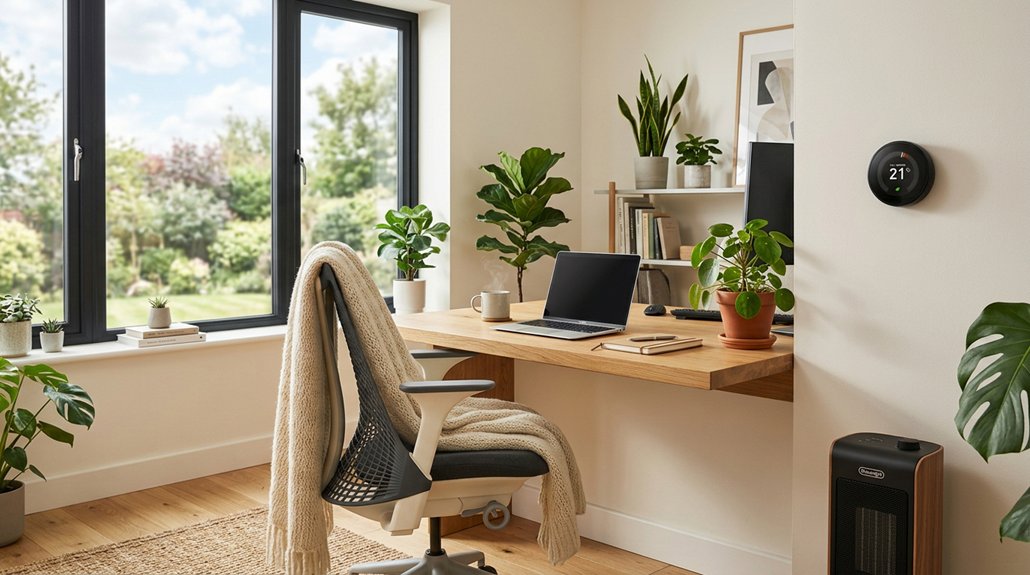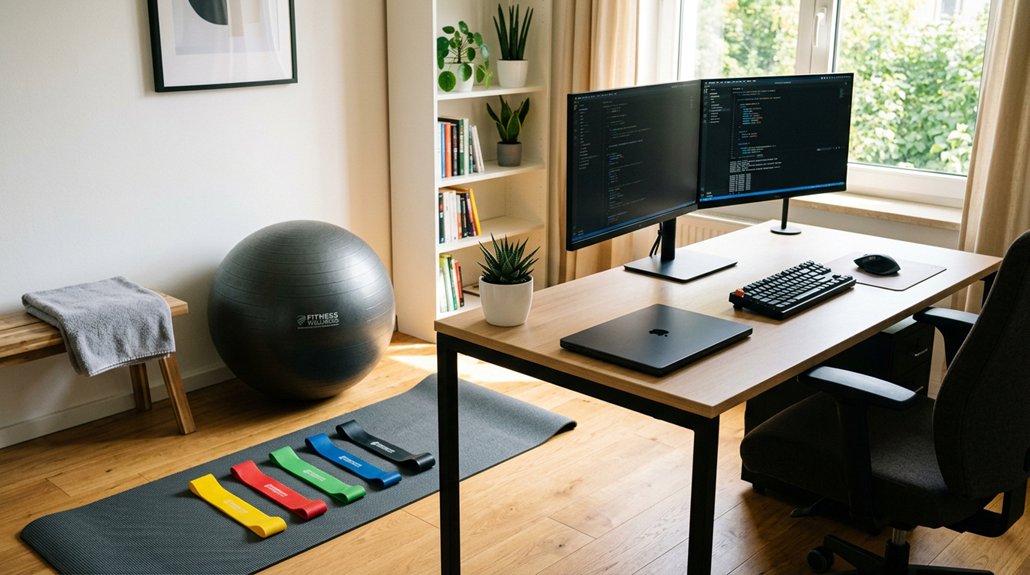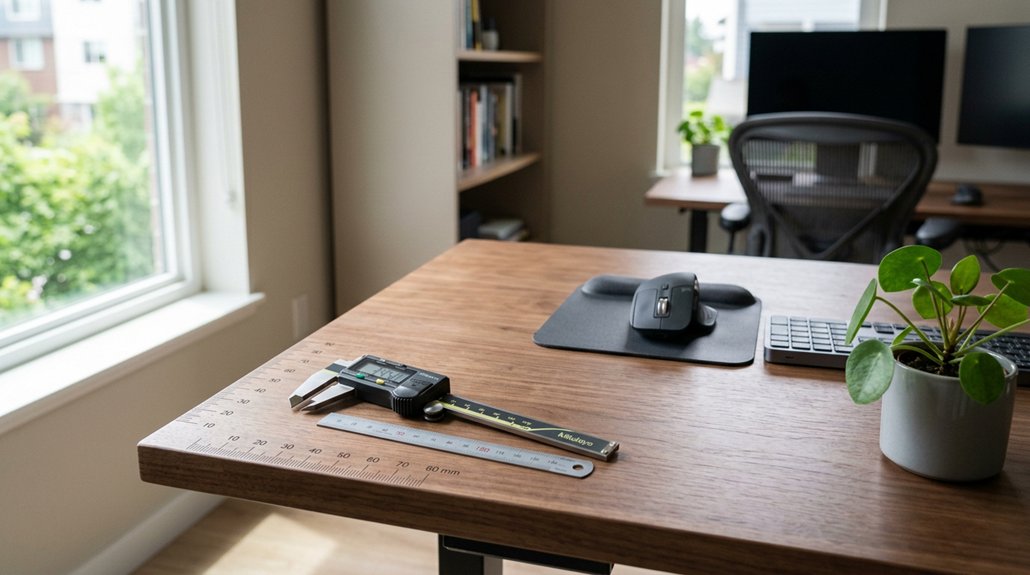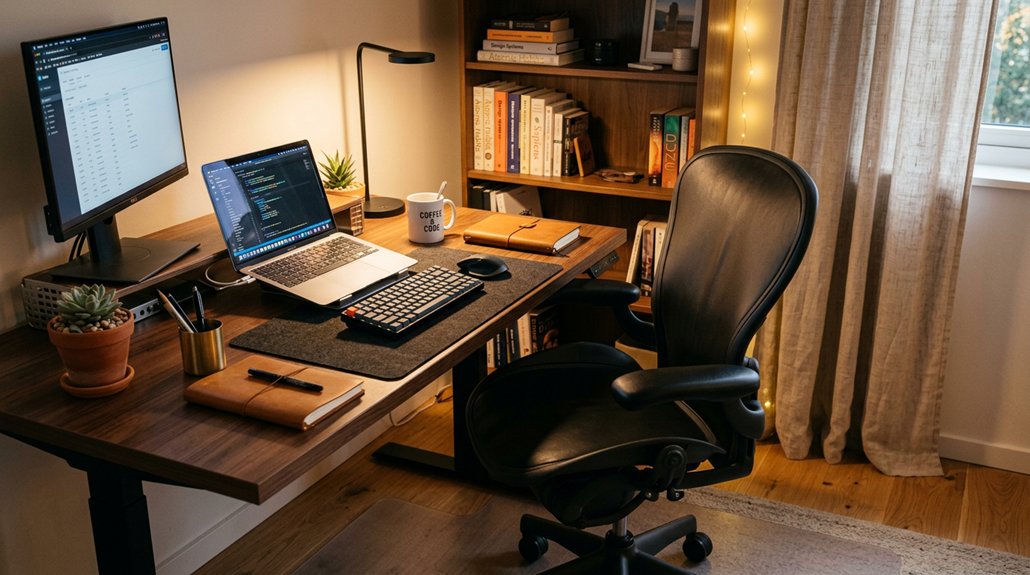
Start by evaluating your chair for proper support and height, ensuring your feet are flat on the floor or footrest, and your knees are at 90°. Check your monitor is at eye level, about 20-40 inches away, with the top third in your view. Make sure your keyboard and mouse keep your wrists neutral and close to your body. Keep your workspace uncluttered and maintain good posture. To improve comfort, explore more tips that can transform your setup.
Assess Your Current Office Setup to Find Ergonomic Pain Points
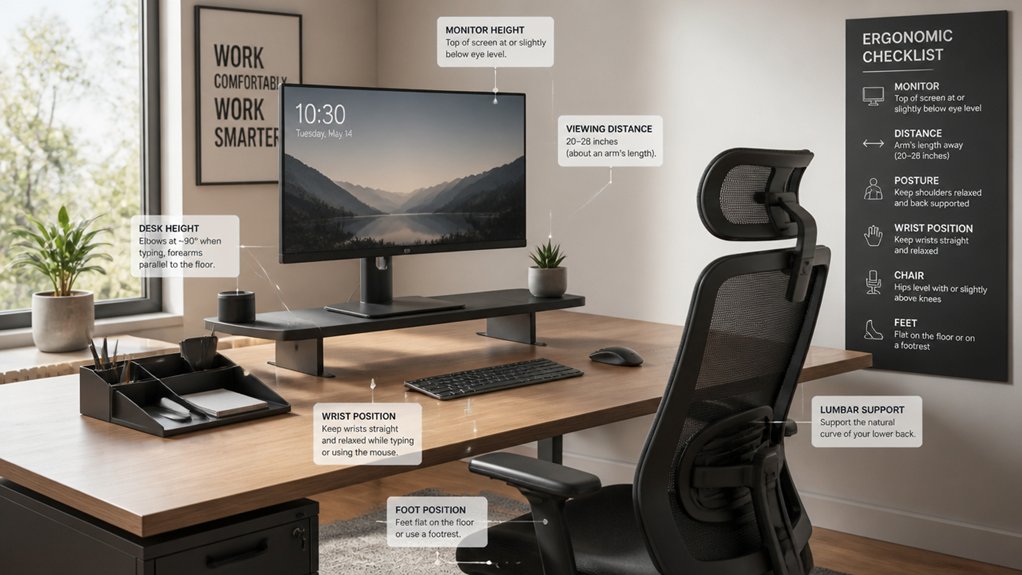
Have you ever noticed persistent discomfort after a few hours of work? To assess your ergonomic desk setup, start by checking your monitor placement. Make certain the top is at or slightly below eye level and about an arm’s length away, reducing neck fatigue and eye strain.
Next, evaluate your keyboard and mouse positioning; your wrists should stay neutral, elbows at 90°, and the mouse close enough to avoid shoulder and forearm strain.
Also, review your desk organization—frequently used items should be within easy reach, minimizing unnecessary reaching and maintaining good posture. Finally, confirm your chair height allows your feet to rest flat on the floor, with knees at about 90°. A well-organized workspace with proper monitor riser placement can significantly improve your comfort and support ergonomic alignment.
This assessment helps identify pain points early, improving comfort and productivity.
Evaluate Your Chair and Seating Comfort for Proper Support
Ensuring your office chair offers proper support is key to maintaining comfort during long work sessions. Adjust your chair height so your feet rest fully flat on the floor or a footrest, with knees at about 90° and thighs slightly downward. Make sure your chair has lumbar support positioned at your lower back belt level to support your spine’s natural curve. Recline the backrest between 100° and 110° to lessen spinal load by up to 40%. Lumbar support mechanisms can be fine-tuned with adjustable cushions or inflatable lumbar cushions to match your lower back’s shape. Position armrests so your shoulders stay relaxed, with elbows bent at roughly 90°, and forearms parallel to the floor. Use a footrest if your desk height prevents your feet from touching the ground. This setup reduces tension and promotes better posture during extended periods of sitting.
Check Your Desk Height and Space for Easy Movement

To guarantee your desk setup promotes comfort and movement, check that it’s at the right height so your elbows form roughly a 90° angle. Make sure there’s enough space beneath for your thighs and knees, and that your desk depth allows for easy access to your monitor, keyboard, and mouse. A stable, non-slip surface is essential to prevent slipping or wobbling during movement. Keep your workspace organized and consider a footrest if your feet don’t rest flat on the floor.
Ideal Desk Height
Determining the right desk height is essential for maintaining comfort and preventing strain during work. The ideal desk height generally ranges from 680 to 720 mm (26.8 to 28.3 inches), allowing you to type and write comfortably at elbow level. When your elbows form about a 90° angle, your posture stays neutral, reducing wrist and arm tension. Your feet should rest flat on the floor or a footrest if needed. Make sure there’s at least 2 inches (5 cm) clearance under the desk for knees and thighs, enabling easy movement. To achieve this, consider desk height adjustment options, ensuring it matches your body’s natural position. Picture yourself sitting comfortably with relaxed shoulders, arms at your sides, and feet firmly supported. Using a height-adjustable desk can help you find the perfect ergonomic setup tailored to your needs.
Adequate Movement Space
Checking your desk height and space for movement involves making sure there’s enough room underneath and around your workspace for comfortable and flexible positioning.
Guarantee a minimum of 2 inches (about 5 cm) of clearance under the desk for knees and thighs, so you can sit or stand comfortably and change positions easily. The desk should be at the right height, allowing your elbows to rest at approximately 90°. For sit/stand desks, adjust up to 1200 mm to promote movement.
Confirm there’s enough space on the desk surface—around 800 mm deep—so monitors can be positioned at arm’s length while keeping space for your keyboard, mouse, and accessories free of clutter. Additionally, adjustable height desks with fluid lift mechanisms ensure smooth transitions between sitting and standing to support ergonomic movement.
Keep the area clear of obstacles to promote easy movement, stretching, and posture changes throughout your workday.
Position Your Monitor at Eye Level for Comfortable Viewing
Have you ever experienced neck strain after a long day at your desk? Proper monitor positioning can prevent this.
During your ergonomic assessment, focus on adjusting your monitor so the top is at or slightly below eye level. This neutral position helps maintain good neck posture and reduces fatigue.
Imagine:
- Your monitor’s top aligns with your eye level
- You’re looking at the top third of the screen
- The monitor is 20 to 40 inches away, at arm’s length
- You lower the monitor slightly if you wear bifocals
- The screen tilts 10 to 20 degrees upward to reduce glare
- Using an adjustable monitor stand or arm makes fine-tuning easier.
Place Your Keyboard and Mouse to Keep Wrists in Neutral Position
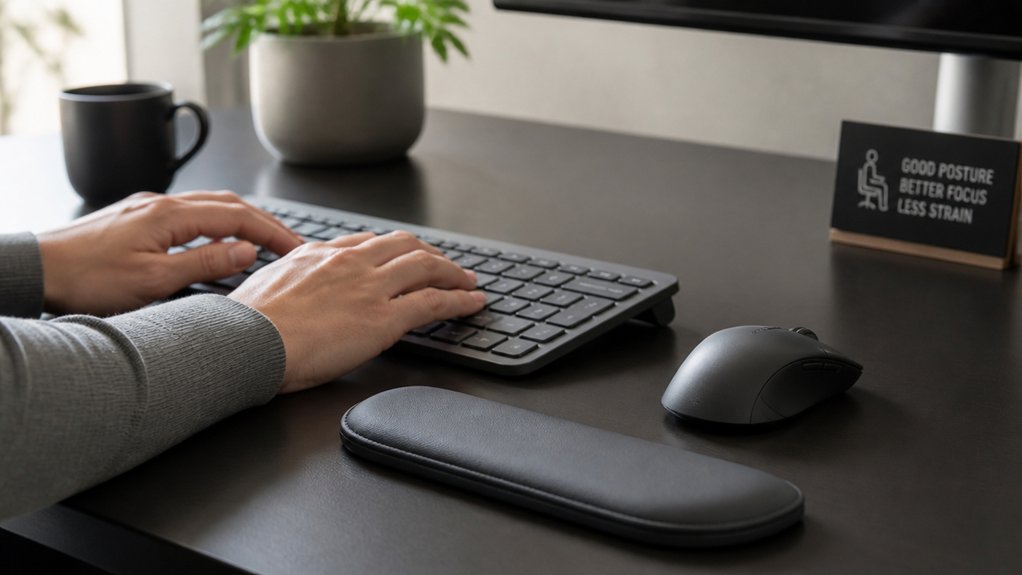
To keep your wrists in a neutral position, position your keyboard flat or with a slight negative tilt, and center it directly in front of you.
Place your mouse close by, at the same height and plane, to prevent reaching and strain. Using ergonomic options like supportive mice can also help maintain proper wrist alignment during your work.
Proper Keyboard Tilt Angle
Are you positioning your keyboard and mouse to keep your wrists in a neutral position? Proper keyboard tilt angle is key to reducing strain and preventing carpal tunnel syndrome.
Keep your keyboard flat or with a slight negative tilt to maintain a natural wrist posture. Use a wrist rest to support your palms and decrease wrist bending. Make certain the keyboard is centered with your monitor and close to the desk edge, so your elbows stay at about 90°, with forearms parallel or slightly downward.
An ergonomic keyboard or adjustable tray helps customize tilt for comfort. Regularly monitor your wrist angle, adjusting tilt or position if your wrists bend sideways or downward excessively. Proper tilt keeps your wrists straight, minimizing strain during long typing sessions. Incorporating a split layout can further promote a neutral hand position and reduce wrist discomfort.
Correct Mouse Placement
Did you know that proper mouse placement can greatly reduce wrist and shoulder strain? To maintain proper ergonomics, keep your mouse close to your keyboard—within arms’ length—to minimize reaching and shoulder tension.
Place it on the same plane and height as your keyboard, ensuring you don’t have to stretch or twist your arm to use it. Your elbows should be at about 90°, with forearms parallel or slightly downward, helping you keep wrists in a neutral position throughout use.
Choose a mouse that fits your hand well and allows for a relaxed grip, preventing nerve compression. Adjust mouse sensitivity so you’re not over-relying on large repetitive movements. Using an ergonomically-designed mouse can further help you stay in a neutral position, reducing strain over time.
Wrist Support Strategies
Positioning your keyboard and mouse correctly is key to keeping your wrists neutral and preventing strain. Use ergonomic keyboards and mice, and position your keyboard flat or with a slight negative tilt to avoid wrist extension.
Keep your keyboard close to the monitor and place it on the desk’s edge, leaving at least 2 inches behind for relaxed wrist posture. Keep Your Mouse on the same plane and directly beside your keyboard to minimize reaching.
Consider ergonomic mouse designs, like adjustable tilt mice, to promote neutral wrist alignment. Regularly monitor your wrist angle during use—avoid sideways bends or palms facing down.
Optimize Lighting and Reduce Glare to Protect Your Eyes
To effectively protect your eyes during long hours at your desk, optimizing your lighting and reducing glare is essential. Position your monitor screen to avoid direct reflections from windows or overhead lights by using blinds or curtains.
Optimize your workspace with proper lighting and glare reduction for comfortable, eye-friendly long hours at your desk.
Keep ambient room lighting at moderate levels to lessen contrast between your screen and surroundings, helping reduce eye strain.
Use an adjustable monitor arm to set your monitor at the right height and distance—about 20-40 inches away and tilted 10-20° upward—for comfortable viewing angles.
Consider screens with anti-glare coatings and add blue light filters or screen protectors to minimize glare and fatigue.
Additionally, use adjustable desk lamps or screen bar lights like the Benq Screenbar, which provide focused lighting without causing glare, further protecting your eyes during long work sessions.
Review Your Posture and Movement Habits Throughout the Day
Ensuring your posture stays healthy throughout the workday starts with regularly checking how you sit and move. Pay attention to areas of tension or discomfort, especially in your neck and shoulders, to catch poor posture habits early.
Look for signs like your neck tilting or twisting, shoulders hunching, or wrists bending sideways, which can cause strain and long-term issues. Track how often you change positions and take breaks to stand or stretch, preventing fatigue and injury.
Imagine:
- Your head leaning forward over the monitor
- Shoulders turtling up toward your ears
- Elbows sticking out away from your body
- Feet not flat on the floor
- Noticing tightness or soreness in your neck and shoulders
Consistently monitoring these habits helps reduce strain and maintain healthy posture.
Declutter Your Workspace for Better Reach and Ease of Movement
Decluttering your workspace is essential for improving reach and ease of movement throughout the day. Start by clearing your desk surface, removing all non-essential items, and keeping only your frequently used items within easy reach—about 15 inches away. This prevents unnecessary stretching and shoulder strain.
Store rarely used objects in drawers or on shelves to maintain a clutter-free workspace, which also reduces cognitive load and minimizes distractions. Use desk organizers, pegboards, or desk pads to efficiently segment your area, keeping essentials accessible without overcrowding.
Additionally, guarantee at least 2 inches of clearance under your desk for knees and thighs, allowing comfortable leg movement. By managing cables neatly with cable management tools, you’ll prevent tangles that hinder arm and desk movement, creating a smoother workspace.
Try Support Accessories to Prevent Discomfort and Strain
Adding support accessories to your workspace can greatly reduce discomfort and prevent strain during long periods of sitting and typing. These tools help maintain proper posture and reduce muscle fatigue.
Enhance comfort and posture with workspace support accessories to prevent strain during long sitting and typing sessions.
For example, wrist rests and forearm supports keep your wrists in a neutral position, reducing carpal tunnel pressure. A footrest guarantees your feet stay flat and knees at a 90° angle, alleviating hip flexor strain and lower back pain. Adjustable lumbar cushions support your lower back, promoting correct spine curvature and lowering spinal load by up to 40%.
Document holders placed beside or below the monitor reduce neck rotation and muscle strain. Edge pads on desk edges soften sharp surfaces pressing into your forearms, preventing discomfort during extended typing sessions.
- Wrist rests and forearm supports
- Footrest for proper leg positioning
- Lumbar cushions for lower back support
- Document holder to reduce neck strain
- Edge pads to soften desk edges
Use Ergonomic Self-Assessment Checklists to Spot Issues
Using ergonomic self-assessment checklists allows you to systematically identify issues in your workspace setup before they lead to discomfort or injury. These checklists guide you through evaluating key aspects like monitor height, ensuring the top of the screen is at or slightly below eye level and about 20-40 inches away to reduce neck strain.
They also help you check your keyboard and mouse placement, preventing wrist bending and shoulder stress. Accurate assessment of your posture can reveal if your chair height, lumbar support, and foot positioning promote neutral alignment. Additionally, these checklists help detect common problems such as “turtling” or poor monitor distance, facilitating posture improvement and reducing musculoskeletal risks.
Using them regularly enables you to maintain an ergonomic workspace tailored to your needs.
When to Consult an Ergonomic Expert for Personalized Advice
Even after completing ergonomic self-assessment checklists, there may still be signs that you need professional guidance. If discomfort persists despite adjustments, it’s time to consult an ergonomic expert.
Consider seeking personalized ergonomic advice if your workstation setup doesn’t fit your body or tasks, or if you’re at risk for musculoskeletal disorders like carpal tunnel syndrome or lower back pain. You should also seek expert help when your current equipment lacks the necessary adjustability for your height or movement needs.
Seek ergonomic help if your setup doesn’t fit your body or lacks necessary adjustability.
An ergonomic professional can diagnose complex postural issues linked to both your physical setup and psychosocial stressors, ensuring a thorough approach.
Visualize:
- Persistent wrist or neck pain after adjustments
- A chair that can’t be modified to fit your height
- Tightness or numbness in your hands or back
- Workstation components that won’t align properly
- Ongoing discomfort despite following guidelines
Make Adjustments Gradually and Track Your Comfort Over Time
Make adjustments one step at a time, giving your body at least 30 minutes to adapt before moving on.
Keep a daily log of any discomfort to identify which setup elements need tweaking. Tracking your comfort over days or weeks helps you see gradual improvements and guarantees lasting ergonomic benefits.
Implement One Change at Time
To effectively improve your desk setup, it’s best to introduce changes one at a time. This allows your body to adapt gradually and helps you identify which adjustments truly enhance comfort or cause strain.
After each change, spend at least 30 minutes in your new position before making further adjustments. Tracking where you feel tension or discomfort guides targeted refinements. Focus on one variable at a time, such as:
- Adjusting your setup or height to align your monitor at eye level
- Elevating or lowering your chair for proper support
- Tweaking keyboard and mouse positions
- Taking breaks regularly to prevent stiffness
- Monitoring for new areas of strain or pain during postural changes
This step-by-step approach minimizes overwhelm and maximizes ergonomic benefits over time.
Monitor Physical Responses
How can you guarantee your monitor setup truly supports your comfort? Start by observing areas of tension or discomfort during and after work. You might notice neck and shoulder stiffness, lower back pain, or wrist discomfort.
Make small, gradual adjustments to your monitor’s position—such as height or distance—and give your body at least 30 minutes to adapt before evaluating. Track how your eye strain and fatigue change in response, ensuring your screen is at a neutral height to prevent forward head tilt.
Pay attention to wrist angles and avoid sideways bending or downward palm positions by adjusting peripherals or screen placement. Also, monitor circulation issues, like leg numbness or foot discomfort, as you tweak chair height and foot support to maintain a neutral posture.
Allow Body to Adapt
Allowing your body time to adapt to ergonomic changes is essential for truly evaluating their effectiveness. When you implement adjustments, sit in your chair for at least 30 minutes to let your body settle into the new posture.
Allow body to adapt gradually by making one change at a time and observing your comfort throughout the day. Use a journal or digital note to track discomfort in your neck, back, wrists, or eyes over several days, helping identify patterns related to your workstation setup.
Gradual adaptation helps muscles and joints adjust safely, reducing the risk of overcorrection or new discomfort. Giving your body time between adjustments guarantees you get accurate feedback on what truly improves your comfort and reduces fatigue.
Frequently Asked Questions
What Is the 90 90 90 Rule for Ergonomics?
The 90 90 90 rule means you position your hips, knees, and elbows approximately at 90 degrees, keeping your feet flat, thighs parallel, and forearms level, which helps reduce strain, improve posture, and prevent discomfort during work.
What Is the 20 8 2 Rule?
The 20 8 2 rule guides you to sit for 20 minutes, stand for 8, and stretch or move for 2, encouraging you to vary your posture and improve circulation, reducing fatigue and musculoskeletal strain during work.
How Should My Desk Be Set Up?
You should set up your desk with your monitor at eye level, feet flat on the floor, elbows at 90°, keyboard centered, items within easy reach, and incorporate adjustable supports; organize for comfort, movement, and minimal strain throughout your workday.
What Are the 3 P’s for Having a Clean Desk?
The 3 P’s for a clean desk are Plants, Pictures, and Personal decorations. They personalize your workspace, boost motivation, and make it more inviting by adding visual interest, comfort, and a touch of your personality, enhancing your overall productivity.