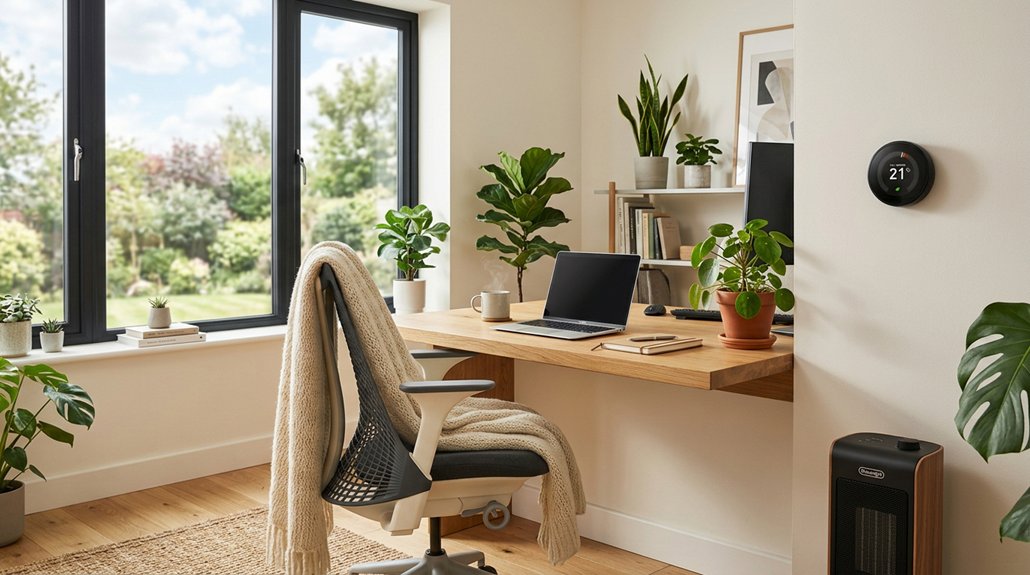
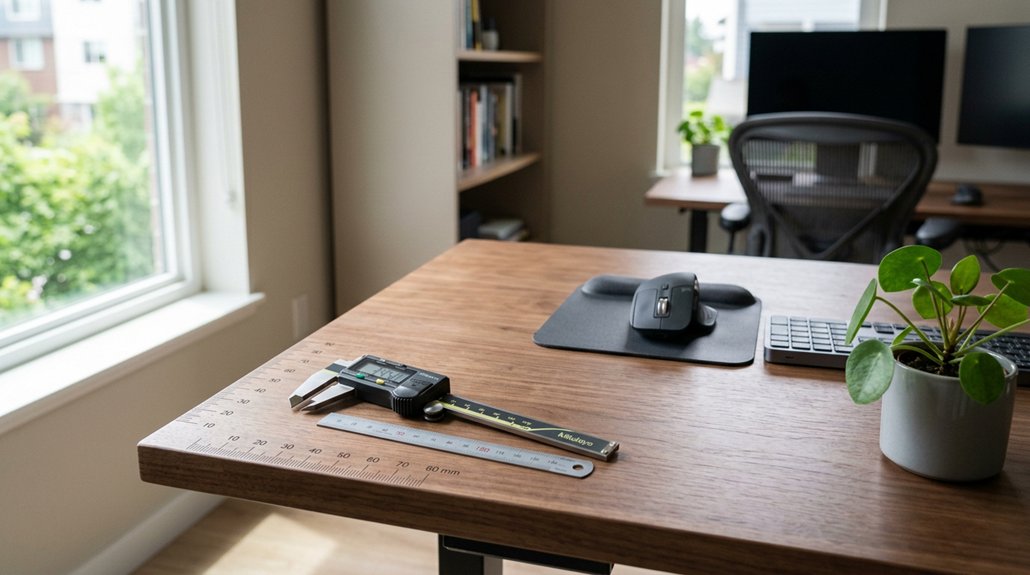
Apply the One‑Touch Rule: pick up each item and instantly decide to file, delegate, complete, or trash it, preventing lingering clutter. Set up three zones—computer, writing, supplies—so tools stay where you need them. Label drawers, bins, and cables with clear, color‑coded tags for quick retrieval, and use vertical storage or a monitor‑mounted shelf to free desk space. Digitize papers with a consistent naming scheme and keep a daily reset to cut decision fatigue. Add a small, minimalist inspiration spot, and you’ll discover even more productivity tricks ahead.
Define the One‑Touch Rule for Desk Organization
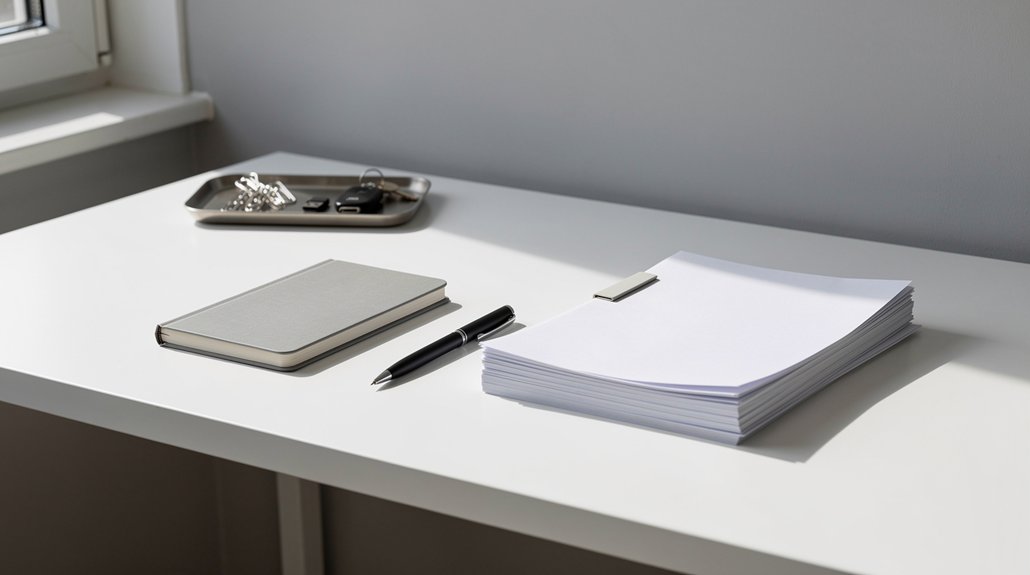
What if you could eliminate the mental clutter of unfinished tasks with a single, decisive action? The One‑Touch Rule does exactly that for desk organization. You pick up an item, then immediately decide its fate—complete it, file it, delegate it, or trash it—so nothing lingers to trigger decision fatigue. By setting an action threshold of two minutes for emails or calendar entries, you keep your workflow tight. For longer tasks, you assign a predefined destination and move the item to the appropriate filing system or desk drawer right away, establishing a clear next step. This habit builds a proactive, streamlined environment that boosts productivity and prevents the desk from becoming a catch‑all for unfinished work.
Create Dedicated Task Zones for Computer, Writing, and Supplies
Set up a computer zone with your monitor, keyboard, and mouse positioned for ergonomic comfort. Design a writing zone that holds a notebook, pen, and any reference material you need for quick jotting. Allocate a supplies zone with labeled trays, folders, and dividers so everything stays organized and within arm’s reach.
Computer Zone Layout
Ever wondered how a well‑ structured computer zone can streamline your whole desk? Your computer zone should anchor desk organization, acting as the hub of your workspace layout. Place the monitor at eye level for ergonomic comfort, then line up keyboard and mouse within arm’s reach. Keep quick‑access items—like a notebook, charger, and sticky notes—on a small tray to avoid clutter. Use vertical storage, such as a monitor‑mounted shelf, to hold reference papers and free up surface space. Define clear desk boundaries so the zone stays distinct from writing and supplies areas, preventing overlap that slows you down. Regularly tweak monitor placement and organizer positions to sustain workflow optimization and boost productivity.
Writing Zone Essentials
Where will you place your writing tools so they’re instantly reachable yet out of the computer’s way? Your writing zone should sit in a corner workspace that stays clear of screens, giving you an unobstructed workspace for note‑taking and brainstorming. Keep only frequently used items—pens, highlighters, a notepad—within arm’s reach, and use subtle desk accessories like a slim tray to prevent clutter. Label the tray and any small drawer so you always know where each tool lives, reinforcing desk organization and boosting productivity.
- Position a low‑profile pen holder at the front edge of the zone.
- Add a narrow, labeled tray for sticky notes and index cards.
- Place a small notebook stand to keep pages upright.
- Use a magnetic strip for metal clips and paper clips.
Supplies Zone Organization
How can you keep your desk from turning into a chaotic mess while still having everything you need at hand? Set up a dedicated supplies zone that sits beside your computer and writing areas. Use labeled containers and drawer dividers to separate pens, clips, and paper products, creating an organization zone that invites quick access. A simple filing system holds loose sheets and reference material, keeping them out of sight but within arm’s reach. Keep the supplies zone distinct from the work surfaces to prevent overlap and maintain desk organization. Periodically audit the zone, rotating or discarding rarely used items, and you’ll boost productivity and desk efficiency without sacrificing convenience.
Label Drawers, Bins, and Cables for Instant Retrieval
You’ll notice how a clear labeling system instantly cuts down search time, especially when you pair it with consistent color coding. Quick identification tags on the outside of each drawer, bin, or cable reel let you spot what you need at a glance. Keep the labels updated and you’ll always know exactly where everything belongs.
Clear Labeling System
Ever wondered why some desks feel chaotic while others run like a well‑oiled machine? A clear labeling system turns that chaos into productivity. When you apply desk labeling consistently, each drawer, bin, and cable becomes part of an organization system that offers quick recognition and easy retrieval. Use clear identifiers—item name, category, date—so you locate items and containers in seconds. Regularly update labels as contents shift, keeping the system accurate and reliable.
- Label every drawer front with its primary purpose.
- Attach color‑coded tags to bins for fast visual cues.
- Write cable descriptions on adhesive strips.
- Review and refresh labels weekly to match current inventory.
Consistent Color Coding
Implement a consistent color‑coding system across all your drawers, bins, and cables, and you’ll instantly know where each item belongs. Choose a simple color scheme—blue for writing tools, red for urgent papers, green for storage—so each label conveys meaning at a glance. Attach durable, high‑contrast labels that pair dark text with light backgrounds; this boosts readability and cuts search time. Keep a color legend on the desk edge, outlining what each hue represents, and update it whenever you add or move items. Apply the same palette to digital folders and calendar entries; that reinforces quick identification of priority items across your entire workspace. Regularly audit your system to prevent color fatigue and maintain seamless desk organization.
Quick Identification Tags
Where do you find the right tool in a sea of clutter? You’ll spot it instantly when every drawer, bin, and cable sports a clear, visible label. Quick identification transforms desk organization from guesswork into a productivity boost. Use consistent naming, durable markers, and color‑coded labels to differentiate supplies, papers, and cords. For under‑desk management, attach Velcro tags that match the labeled components, keeping everything in sync.
- Label each drawer with a concise tag like “Pens_Marker_Drawer.”
- Apply color‑coded labels to bins for “Supplies,” “Docs,” and “Cables.”
- Use adhesive cord labels on every cable, matching them to their purpose.
- Update visible labeling whenever contents change to maintain quick identification.
Implement Vertical Storage to Free Desk Space
Looking to reclaim precious desk real? You can boost desk space by adding vertical storage that lifts items off the surface. Install tiered organizers or wall-mounted units to keep files, supplies, and tools within arm’s reach while freeing the desktop. A monitor stand with built‑in compartments combines height adjustment with storage, improving accessibility and ergonomic setup. Use multi‑level organizers for pens, sticky notes, and gadgets, and label each tier for quick retrieval. Wall space can hold pegboards, shelves, or file holders, turning unused height into functional zones. This vertical approach drives clutter reduction, supports a tidy workflow, and maintains an ergonomic posture, letting you focus on tasks rather than searching for items.
Digitize Paper Files With a Consistent Naming Scheme
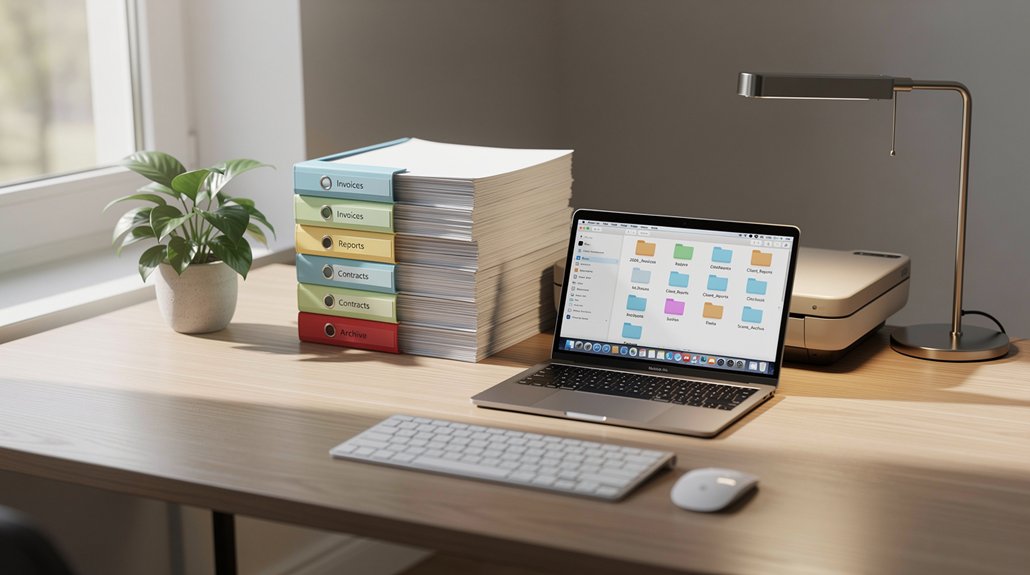
Ever need to locate a contract in seconds? You’ll digitize every paper, shred the original, and store the PDF in a cloud‑first system that follows a strict naming convention. A clear folder hierarchy and searchable tags keep your file organization tight.
- Scan the document with a high‑resolution app.
- Name it YYYY‑MM‑DD_ClientName_DocumentType for consistent naming.
- Drop the file into the appropriate cloud storage folder.
- Add searchable tags in your notes app for cross‑project retrieval.
Apply a Daily One‑Touch Reset to Maintain Organization
Feeling overwhelmed by a cluttered desk? Apply the One‑Touch rule each morning and watch desk organization soar. When you pick up a note, email, or file, decide instantly—complete it, file it, delegate it, or trash it. Predefine file destinations so physical papers land in labeled folders and digital items go into clear, named directories. As you finish each task, move the item to its designated home; this quick action prevents clutter buildup. End each day with a concise end‑of‑day routine: close stray tabs, wipe the surface, and set the top three priorities for tomorrow. Consistently doing this daily reset trims decision fatigue, boosts productivity, and guarantees lasting clutter reduction.
Tether Cables and Build a Central Charging Station
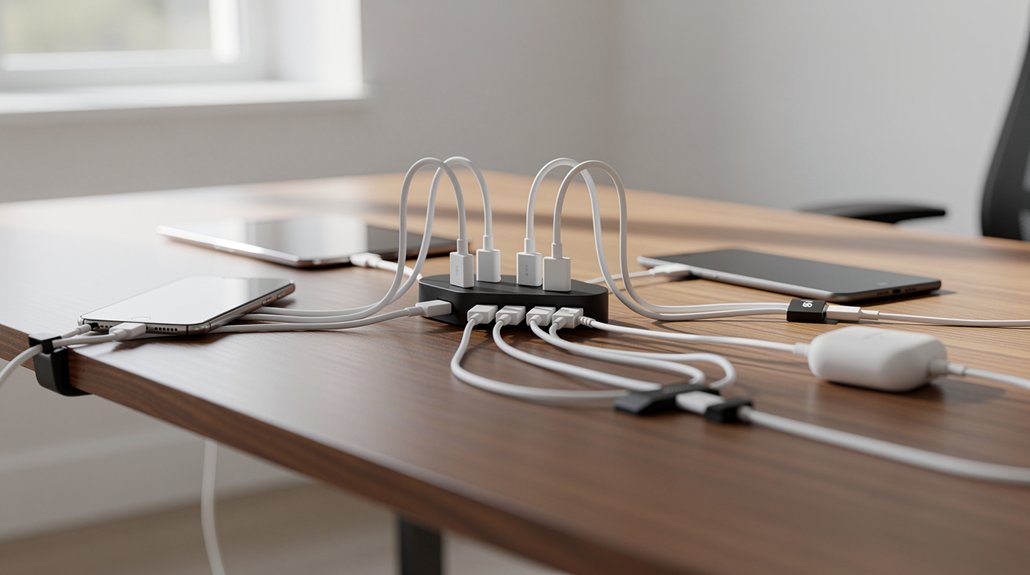
How can you keep your workspace tidy while still powering all your devices? Start by mounting a power strip under the desk, using a wall‑mounted unit with four outlets and four USB ports. Run its cord along the inner edge with Command clips, then tuck excess length away. Label each tether cable with Velcro tags so you know which device it serves. Finally, set up a central charging station that gathers all charging cables in one spot, eliminating desk clutter.
- Mount power strip high under desk for hidden outlets.
- Clip cord along desk edge, secure with adhesive holders.
- Use cable labeling for quick identification.
- Consolidate devices on central charging station for organized USB charging.
Add Personal Inspiration While Keeping Desk Organization Minimalist
A few well‑chosen items can give your desk personality without crowding it. Pick a photo, a short quote, or a tiny plant that sparks inspiration and place it in a dedicated inspiration area on your primary work zone. Use a small tray or labeled spot so the personal items stay separate from essential tools, keeping desk organization sleek. Choose unobtrusive decor that you reference often—perhaps a color‑coded sticky note with a mantra—so it boosts productivity instead of distracting. Rotate inspiration every few weeks; swapping the picture or plant refreshes the visual cue while maintaining a minimalist desk aesthetic. This subtle rotation preserves novelty, prevents visual noise, and lets you stay focused on the task at hand.
Frequently Asked Questions
How Often Should I Reassess My Desk Layout?
You should reassess your desk layout every few weeks, especially after major projects or workflow changes. Quick monthly checks keep tools handy, reduce clutter, and guarantee the space still supports your productivity goals.
Can I Use a Standing Desk and Still Follow the One‑Touch Rule?
Yes, you can use a standing desk and still follow the one‑touch rule; just keep essential items within arm’s reach, maintain a clear surface, and adjust your height so you never need to move things twice.
What’s the Best Way to Organize Recurring Project Materials?
You should create a dedicated folder for each recurring project, label it clearly, and keep all related files, notes, and tools inside. Review and purge outdated items weekly to stay organized.
How Do I Keep My Phone and Tablet Charged Without Clutter?
You should use a compact dual‑port charger on a small tray, keep cables coiled with Velcro straps, and place the devices vertically in a cable‑management sleeve to avoid mess.
Should I Color‑Code Labels for Faster Visual Identification?
You should color‑code labels; bright hues let you spot items instantly, cutting search time. Assign consistent colors to categories, keep the palette simple, and place labels where your eyes naturally scan.
In Summary
By sticking to the One‑Touch Rule, carving out clear task zones, and labeling everything, you’ll spend less time hunting for tools and more time getting work done. Vertical storage and a central charging hub keep the surface clear, while digitized files and a daily reset lock in the habit. Add a splash of personal inspiration, but keep it minimal, and your desk will stay a sleek, productive launchpad every day.