To install an adjustable under-desk keyboard tray, start by measuring your desk’s width, depth, and thickness to choose the right mounting style—clamp, top-mount, or side-mount. Mark the desired position, pre-drill pilot holes, and securely attach the mounting brackets, ensuring they won’t interfere with crossbars or supports. Attach the tray to the slides, then adjust and test for smooth movement and ergonomic positioning. Keep reading for detailed tips on perfect setup and adjustments.
Why Adjustable Keyboard Trays Improve Your Ergonomics
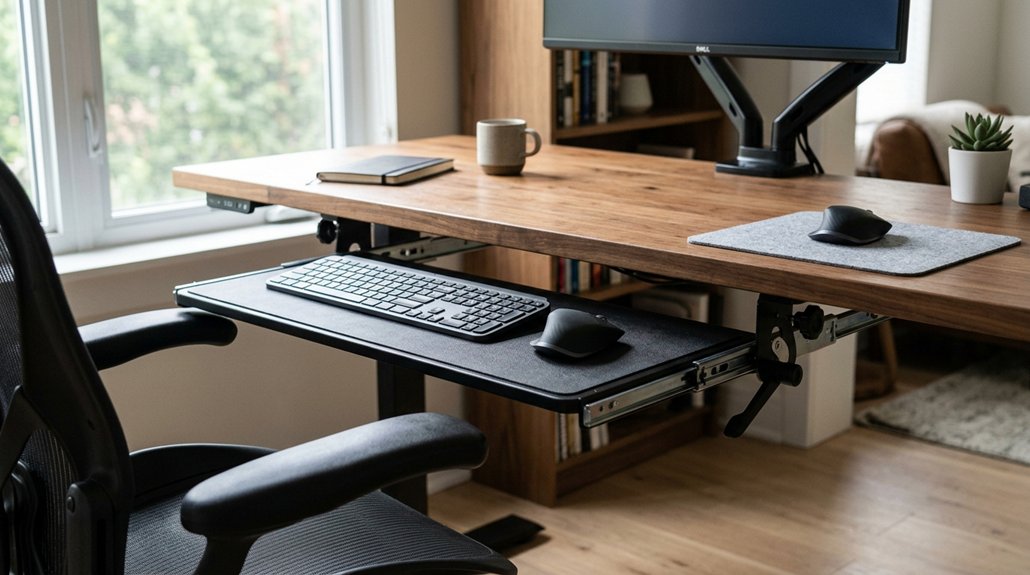
Adjustable keyboard trays greatly boost your ergonomics by allowing you to position your keyboard and mouse at ideal heights and angles. An ergonomic keyboard tray, like a Height Adjustable Keyboard Tray, helps you find the perfect setup to reduce strain and increase comfort.
By enabling negative tilt angles up to 15° or more, it promotes a neutral wrist posture, decreasing the risk of repetitive stress injuries like carpal tunnel syndrome. Sliding and height-adjustable trays keep your work surfaces close, minimizing shoulder elevation and upper back tension.
With customizable height settings ranging from about 3.9 to 5.5 inches, you can tailor the setup to your body size and posture needs. Adding features like wrist rests and curved tray edges further enhances comfort for long periods of use. Additionally, adjustable trays that include ergonomic height range features can better accommodate different users’ needs.
How to Measure Your Desk and Space for the Perfect Fit
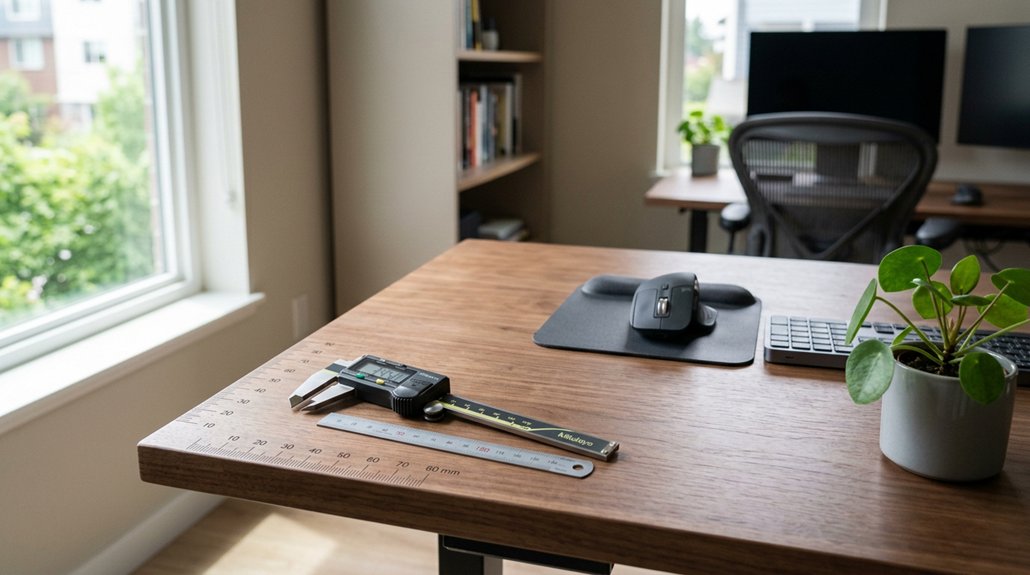
Before choosing an ergonomic keyboard tray, it’s essential to measure your desk and space carefully. Start by checking the width and depth of the installation area under your desk, ensuring the under-desk keyboard tray fits without blocking desk legs or supports.
Measuring your desk’s width and depth ensures a perfect fit for your ergonomic keyboard tray.
Record your desk’s thickness, especially if you’re considering clamp-on trays, which need surfaces up to about 2.3 inches thick. For sliding keyboard trays, confirm there’s enough clearance underneath for smooth movement.
Also, measure the free draft distance—the space between the desk edge and any crossbars or supports—especially important for standing desks. Additionally, consider the adjustable height range of your chosen tray to ensure it accommodates different working postures comfortably.
Finally, determine the height clearance from the floor and the overall space available for comfortable keyboard and mouse placement, making sure your chosen tray fits perfectly.
Which Mounting Style Works Best for Your Desk Type?
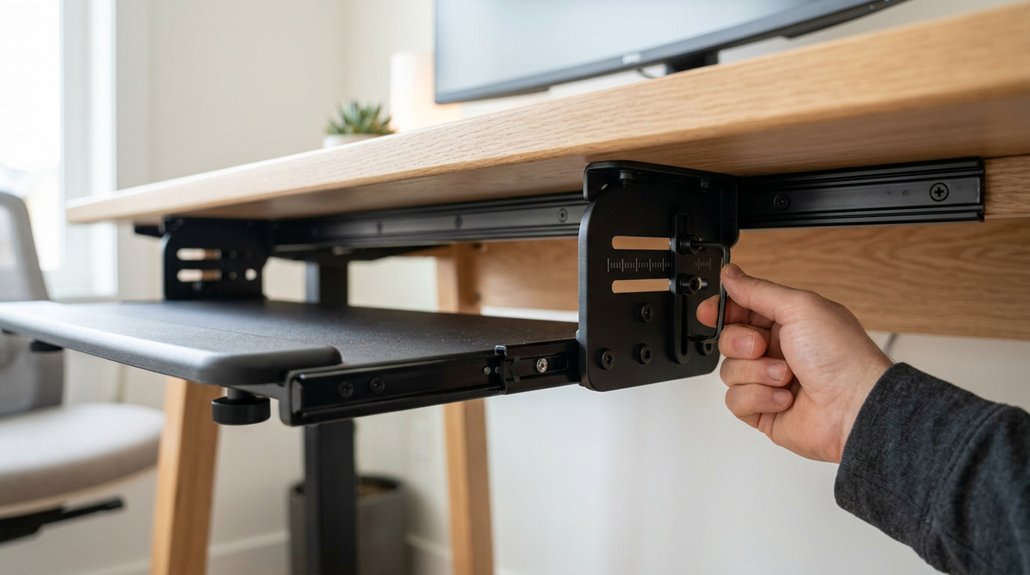
Choosing the right mounting style depends on your desk’s material, space, and hardware options. Top-mount slides work well on desks without side walls, while side-mounts are better for enclosed spaces. Additionally, mounting compatibility with your desk’s thickness and material can influence which option provides the most stability and ease of installation.
Desk Material Compatibility
The type of desk you have plays a crucial role in selecting the right mounting style for your keyboard tray. If your desk has a flat, smooth surface and minimal obstructions, top-mount slides work well by attaching directly underneath, providing stability through gravity.
For desks with vertical sidewalls, side-mount slides offer secure lateral support, fitting between the walls. Clamp-on keyboard trays are perfect for desks with limited or obstructed space, such as standing desks with metal crossbars, since they don’t require permanent attachments.
Always check your desk’s thickness—many clamp-on trays accommodate up to about 2.3 inches—ensuring a stable fit without damage. Consider your desk’s shape and features to choose the most compatible mounting style for a secure, ergonomic setup. Additionally, clamp compatibility can vary based on desk material and surface type, so measuring your desk thoroughly ensures a proper and safe fit.
Space and Clearance Needs
Your desk’s available space and clearance determine which mounting style will work best for your keyboard tray.
If you have sidewalls or hardwood pieces under the desk, sliding keyboard drawers with side-mount slides are ideal, providing a stable fit between vertical surfaces. For desks without sidewalls, top-mount slides attach to the underside surface, offering gravity-supported stability. Measure the free draft space beneath your desk—from the edge to any crossbars—to guarantee compatibility. Additionally, choosing a mounting style that supports your weight capacity needs ensures safety and durability.
Checking your desk’s thickness and structure is important, as clamps need to accommodate thicknesses up to 2.3 inches. Choosing the right style depends on your space constraints and desk design.
Mounting Hardware Options
Selecting the right mounting hardware depends largely on your desk’s design and workspace constraints. If your desk has side panels, side-mount slides are ideal—they securely position the keyboard tray between two vertical walls.
For desks without side walls, top-mount slides work best, attaching directly to the underside of the desktop for stability. Clamp-on mounting hardware is a versatile, non-permanent option, especially useful for desks with obstructive crossbars or limited under-desk space, like standing desks.
If metal crossbars interfere with glide tracks, consider using keyboard tray adapter kits to bypass the obstacle while keeping the tray adjustable and stable. Make sure your chosen hardware matches your desk’s thickness and limitations, ensuring a secure, ergonomic setup without damaging your workspace. Additionally, selecting a mount with appropriate height adjustability ensures optimal ergonomic positioning for prolonged use.
How to Choose the Right Sliding or Fixed Mechanism for Your Tray
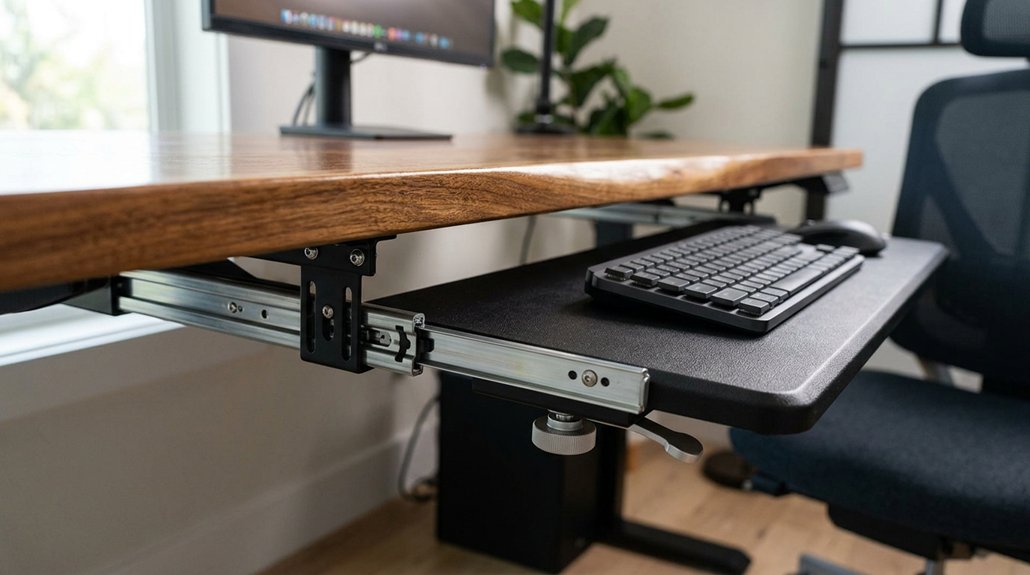
How can you determine whether a sliding or fixed mechanism best suits your keyboard tray needs? If you want ergonomic flexibility, opt for an adjustable sliding keyboard tray, which allows smooth height adjustment and tilt for comfort. Fixed trays are simpler and offer stable, no-movement setups, ideal if stability takes priority.
When choosing, consider your desk structure:
- For trays between vertical supports, side-mount slides secure proper fit.
- If your desk has metal crossbars or other obstructions, seek specialized glide tracks or adapters.
- Verify weight capacity and dimensions to guarantee the sliding mechanism supports your keyboard and mouse safely.
- Ensuring compatibility with material durability and mounting methods can prolong the tray’s lifespan and stability.
A reliable glide track, such as steel ball-bearing slides, guarantees durability and easy access. Your selection hinges on balancing flexibility with stability, based on your workspace setup.
What Tools and Materials Do You Need to Prepare
Before beginning installation, it’s essential to gather the right tools and materials to guarantee a smooth and secure setup. You’ll need an electric screwdriver and a tape measure to accurately position the keyboard drawer and verify proper fit.
Depending on your desk’s design, select the appropriate trays slide: top-mount sliders for desks without side walls or side-mount sliders for trays placed between vertical supports. Prepare materials such as a high-quality keyboard tray, wood polish for finish protection, and mounting hardware specific to your tray model.
If customizing the tray, have woodworking tools like a miter saw, orbital sander, wood glue, and mounts on hand for cutting, sanding, and assembly. Allocate enough time and clear workspace to measure, position, and securely attach all components. Furthermore, ensure that the tray’s adjustable tilt mechanism is compatible with your desk setup to promote ergonomic positioning.
How to Install an Under-Desk Mounting System Step-by-Step
Start by measuring underneath your desk to mark the correct height and position for the mounting slides, making sure they won’t interfere with edges or crossbars.
Then, pick the appropriate type of slides—side-mount or top-mount—and secure them facing downward with screws.
Finally, guarantee the slides are aligned evenly and tightly fastened for smooth operation and stability.
Marking Mounting Points
To guarantee your keyboard tray fits perfectly and functions smoothly, begin by measuring the ideal height for mounting under your desk. This height should align with ergonomic standards for comfortable arm and wrist position.
Once height is determined, use a tape measure to mark the exact mounting points on the underside of the desk. Focus on your Keyboard Holder, making certain the height and angle are adjustable later. Keep in mind:
- Mark points that match the type of slides used—top-mount or side-mount.
- Guarantee the marks avoid obstacles like crossbars or supports, especially in standing desks.
- Double-check that the mounting points support proper height and angle for comfortable use.
Pre-drill pilot holes at these marks to avoid splitting and to secure screws tightly.
Attaching the Mounting System
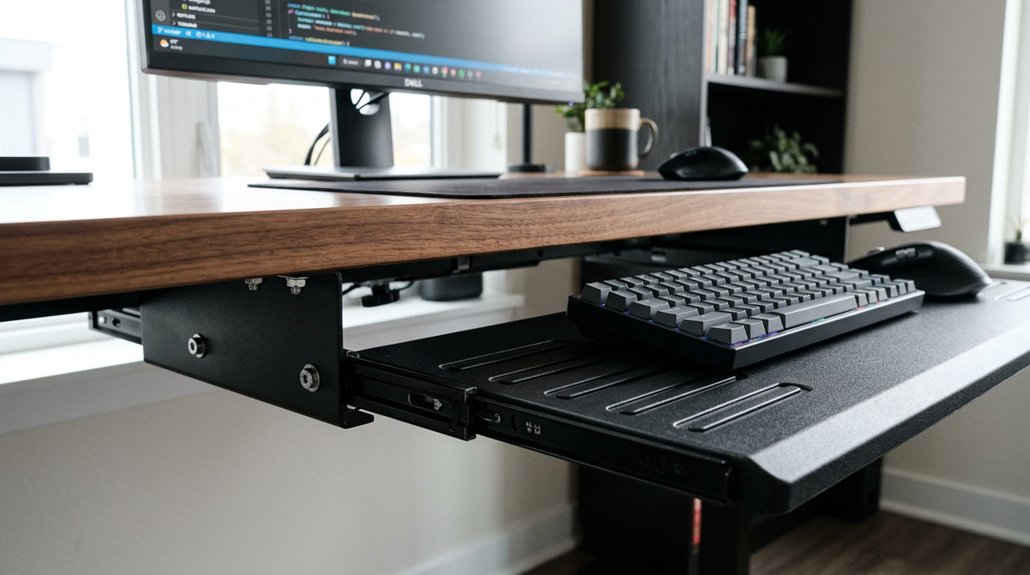
With your mounting points marked and pilot holes pre-drilled, you can now securely attach the mounting system to your desk. Place the keyboard mount’s sliding brackets beneath the desk, guaranteeing they align with your marked positions. Use the included screws and an electric screwdriver to secure the mounting slides downward, providing stability.
Double-check that the slides are level and properly spaced to avoid interference with desk crossbars or limited under-desk space. Proper placement is crucial to achieve the ERGONOMIC Height, promoting comfort during use.
Once attached, verify the sliding mechanism’s smoothness and stability. Adjust the elevation or alignment if necessary before tightening all fasteners completely. This step guarantees your keyboard tray will operate smoothly and stay securely in place during daily use.
How to Adjust Your Tray Height and Position for Comfort
Adjusting your keyboard tray height and position for comfort is essential to create an ergonomic workspace. Use the tray’s three height settings, ranging from about 3.9 to 5.5 inches above the desk, to find the best fit.
Position the tray so your wrists stay straight, with your elbows forming roughly a 90-degree angle when typing. This reduces strain and the risk of repetitive stress injuries. Make sure the curved front edge supports your wrists comfortably.
Keep your wrists straight and elbows at 90 degrees to prevent strain and improve comfort.
If your tray has an adjustable mouse platform, mount it on your dominant side—left or right—for better access. Use these adjustments to keep your keyboard and adjustable mouse close, avoiding overreaching.
Proper positioning promotes natural, neutral wrist and arm postures for comfort during long work sessions.
Common Installation Challenges and How to Troubleshoot Them
During installation, you might encounter obstacle interference from desk crossbars or other features, which can be fixed with adapter kits or by choosing trays suited for shallow spaces.
Ensuring you use the correct mounting tools and techniques is vital for a secure, stable setup. If the tray doesn’t slide smoothly, check for proper alignment, clean or lubricate the glide tracks, and confirm all screws are tightened evenly.
Obstacle Interference Checks
Before mounting an adjustable keyboard tray, it’s essential to check for obstacles that could interfere with smooth operation.
Standing desks often have metal crossbars or support rails underneath, which can block the tray’s glide tracks. Measure your desk’s free space to identify potential barriers.
Key checks include:
- Verify clearance around the crossbars or structural supports to prevent interference.
- Confirm enough space for tray elevation and sliding motion, avoiding conflicts with drawers or support rails.
- Decide between side-mount or top-mount slides based on your desk’s design, guaranteeing proper fit without obstruction.
Using clamp-on options can also help bypass structural challenges, providing stability without risking hits or interference during use.
These steps guarantee your desk keyboard tray operates smoothly.
Proper Tool Usage
Using the right tools correctly can make a significant difference in avoiding installation problems with your keyboard tray. An electric screwdriver guarantees screws are driven straight, preventing stripping and misalignment. Always measure and mark the slide height carefully with a tape measure to guarantee even positioning and smooth gliding. If you encounter desk interference, verify whether your sliders are side-mount or top-mount, and adjust accordingly to avoid crossbars or frames blocking movement. For clamp-on trays, tighten clamps evenly by hand, and check anti-slip pads to protect your desk and maintain stability—avoid over-tightening. Troubleshoot sticky slide tracks by cleaning and lubricating. Making sure your tools are used properly helps achieve a secure, properly aligned setup.
| Tool | Proper Use | Common Issue Addressed |
|---|---|---|
| Electric screwdriver | Drive screws straight and secure | Misalignment, stripping |
| Tape measure | Measure and mark slide height precisely | Uneven tray positioning |
| Hand tools | Tighten clamps evenly | Instability, damage |
| Cleaning supplies | Lubricate glide tracks | Sticky or uneven slide motion |
| Level | Check that rails are parallel | Improper sliding, misalignment |
Secure Mounting Techniques
Securely mounting your keyboard tray requires attention to the type of slide you choose and how you attach it. For a stable Keyboard and Mouse tray on a standing desk, select the right slide type: side-mount for enclosed desks or top-mount for open-bottom desks.
When attaching sliders, face them downward to use gravity for better stability and smoother operation. Before finalizing, assemble the tray with slides and adjust the elevation to avoid crossbars or frame obstructions, especially on standing desks.
Use an electric screwdriver and precise tape measurements to prevent misalignment or stripped screws.
Troubleshoot common challenges by:
- Confirming the correct slide type for your desk.
- Ensuring proper orientation of sliders.
- Adjusting elevation before full attachment.
Personalizing Your Keyboard Tray With Accessories and Features
Personalizing your keyboard tray with accessories and features allows you to customize your workspace for peak comfort and efficiency. Adding wrist rests made from gel or foam provides extra cushioning, reducing strain during long typing sessions.
An adjustable mouse platform can be mounted on either side of the tray, making it suitable for both left- and right-handed users, and easily stowed away when not needed. For wooden trays, applying a wood polish or protective finish enhances durability and guarantees smooth mouse movement.
Ergonomic curved front edges improve wrist comfort by preventing pressure points, even during extended use. Choose trays with sliding rails and smooth ball-bearing glide tracks to allow effortless adjustments and personalized positioning beneath your desk, creating a more comfortable and functional workspace tailored specifically to your needs.
How to Maintain and Care for Your Mounting System Over Time
Proper maintenance guarantees your mounting system stays stable and functions smoothly over time. Regularly inspect and tighten all screws and mounting hardware to prevent wobbling or detachment.
Regularly inspect and tighten hardware to ensure stability and smooth operation of your mounting system.
Clean the glide tracks with a dry cloth to remove debris, ensuring effortless tray movement. To keep the glide tracks operating efficiently, apply a light lubricant recommended for metal mechanisms sparingly—this helps prevent rust and maintains smooth glide.
Check clamp pads or anti-slip pads for wear and replace them if they lose grip, preserving both your desk surface and mounting security. Additionally, avoid exceeding the tray’s weight capacity, such as 26.5 lbs or 12 kg, to prevent strain on the mounting hardware.
Proper care helps extend the lifespan of your keyboard tray system.
Final Tips for Optimizing Workspace Ergonomics and Productivity
To maximize your workspace’s ergonomics and boost productivity, focus on adjusting your keyboard tray to the right height and angle. This guarantees your wrists stay straight, and your elbows form a 90-degree angle, reducing strain. Make sure the tray slides smoothly with quality glide tracks for easy access without interrupting workflow. Use adjustable mouse platforms on either side of the tray to keep your mouse within reach, maintaining a clutter-free desk space. Add ergonomic features like a curved front edge or wrist rests to support natural hand posture during extended use. Regularly polish wooden trays or clean alloy surfaces to preserve smooth mouse movement and a professional appearance.
| Tip | Benefit |
|---|---|
| Proper height adjustment | Reduces strain |
| Smooth sliding | Effortless access |
| Adjustable mouse platforms | Easy access |
| Ergonomic features | Comfort during long hours |
Frequently Asked Questions
How to Build a Keyboard Tray Under a Desk?
To build a keyboard tray under your desk, measure and cut the material, sand edges, finish for smoothness, attach sliders securely, and assemble the tray, ensuring it’s adjustable and stable for comfortable use.
Can You Add a Keyboard Tray to Any Desk?
You can’t add a keyboard tray to any desk. Check your desk’s structure, available space, and material. Clamp-on trays work for surfaces without mounting options, but some desks may need specialized or custom solutions for proper installation.
How Do I Adjust a Keyboard Tray?
You adjust a keyboard tray by locating its height and tilt mechanisms, then using screws or levers to set it to your preferred height (around 3.9 to 5.5 inches) and tilt (about 15°), locking it securely afterward for stability.
How to Remove Under Desk Keyboard Tray?
To remove your under-desk keyboard tray, fully extend it, loosen clamp mounts by hand or unscrew side/top mounts with an electric screwdriver, disconnect any attached accessories, then clean the surface before replacing or reinstalling your workspace.