Your monitor arm’s weight capacity is essential because it prevents sagging, wobbling, or even mount failure. Overloading can cause damage to the arm and your monitor, especially with heavy or curved screens. To stay safe and guarantee smooth adjustments, choose an arm rated 20-25% above your monitor’s weight, including accessories. Keep in mind that if you want to learn more about selecting the right support, there’s plenty of useful info ahead.
Introduction: How to Support Heavy Monitors Safely and Effectively
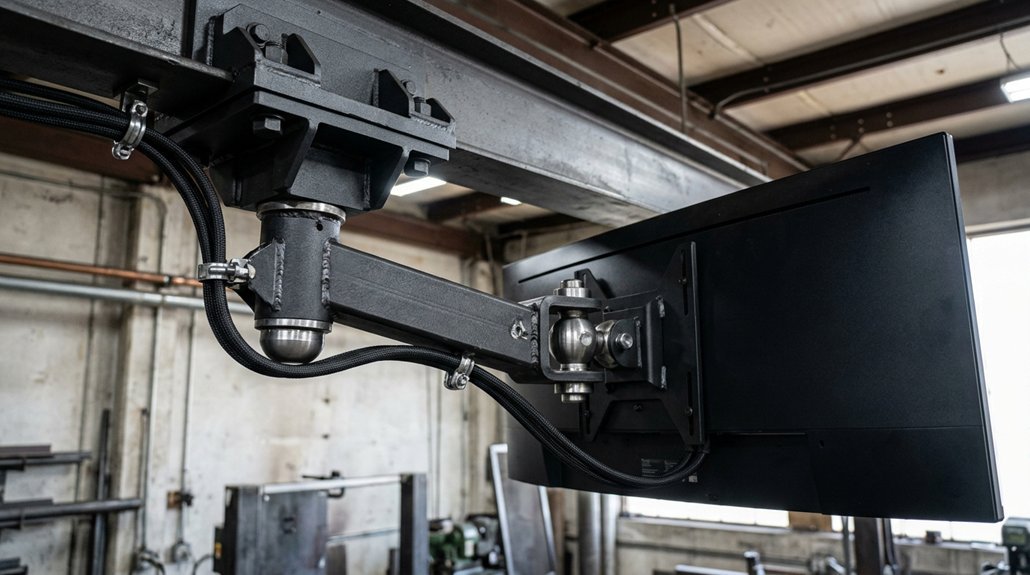
Supporting heavy monitors safely and effectively begins with choosing the right monitor arm that can handle their weight and size. You need to take into account the monitor weight and guarantee the arm’s weight capacity exceeds it by at least 20-25% to prevent drooping or failure.
For larger or curved monitors, the increased depth shifts the center of gravity forward, requiring a heavier capacity arm to maintain stability. Remember to account for the combined weight of accessories like webcams or lights—these add to the overall load the arm must support.
Additionally, selecting a mount with a high-quality weight capacity and sturdy mechanical design ensures long-term durability and secure positioning. Overloading beyond the rated capacity risks bending metal, joint wear, or mount failure, which could damage your equipment or cause injury. Selecting an arm with appropriate weight capacity and torque rating guarantees smooth, secure adjustments for your heavy monitor.
What Makes a Monitor Heavy? How to Measure Its Weight and Depth
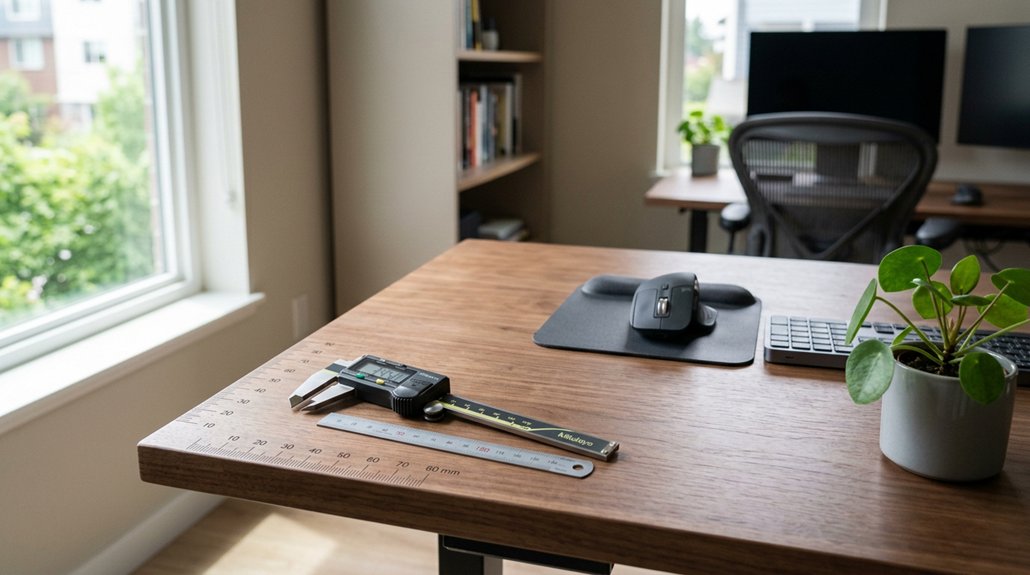
Ever wonder what makes a monitor heavy and how to accurately measure its weight and depth? Monitor weight is measured by the panel’s net weight, excluding stands or brackets, since the monitor mount supports only the panel. Depth, from front to back, affects torque on the mount and varies with design—curved monitors tend to be deeper (about 100 mm), shifting the center of gravity forward. Flat screens usually have less depth, reducing mounting stress. Size doesn’t always mean heavier or deeper; always check manufacturer specs for compatibility. Additional accessories like webcams or lights also impact load capacity. Here’s a quick guide:
| Factor | Details |
|---|---|
| Monitor weight | Panel weight only, no stand or brackets |
| Depth | Front-to-back measurement |
| Curved vs Flat | Curved monitors are generally deeper |
| Size vs Weight | Size doesn’t indicate weight/depth |
| Accessories | Adds to overall weight to take into account |
A thorough understanding of monitor ergonomics can help ensure proper mounting and prevent damage.
Why Knowing Your Monitor’s Specs Matters for Mounting Success
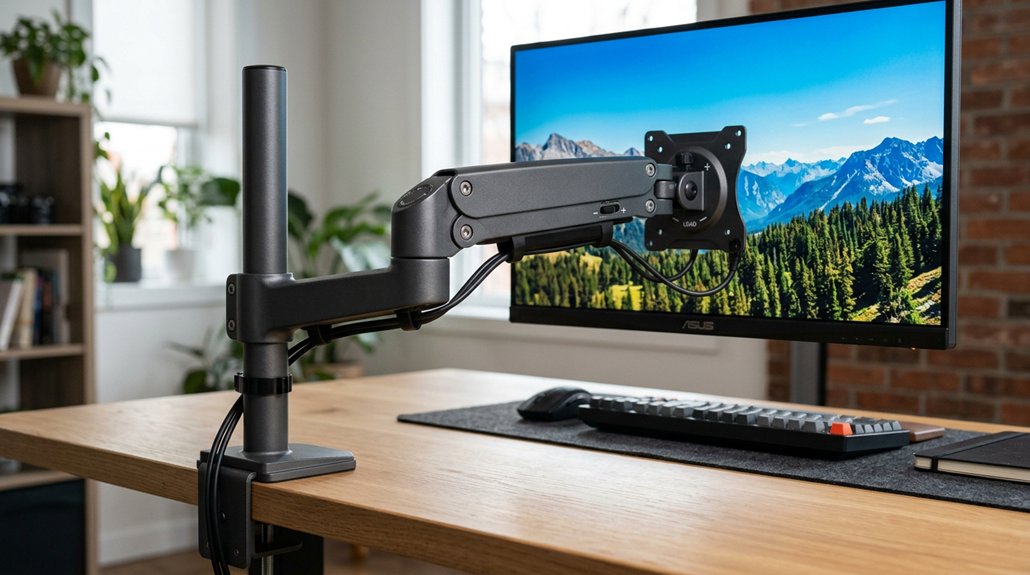
Knowing your monitor’s specs guarantees you select a mount that can handle its weight and size, preventing drooping or damage. Confirming compatibility, like VESA patterns, guarantees a secure fit and stable setup. Including peripherals in your calculations helps avoid overloading the arm and maintains long-term durability. Selecting a stand with a suitable adjustment features ensures ergonomic positioning and flexibility for your workspace.
Importance of Compatibility
Understanding your monitor’s exact weight and dimensions is essential to guaranteeing your arm mount can support it safely and securely. If your monitor exceeds the weight rating, it risks sagging or mechanical failure. Curved monitors need an extra 4.4–6.6 lbs (2–3 kg) buffer because their increased depth adds torque, affecting compatibility. Confirming the VESA mount size (typically 75×75 mm or 100×100 mm for screens 27-32 inches) guarantees proper fit and secure attachment. Including peripherals like webcams or lighting in your weight checks prevents overload and maintains stability. Additionally, considering desk thickness compatibility ensures the clamp will fit securely without slipping or causing damage.
Accurate Specification Verification
- You risk choosing a mount that can’t handle the *weight and depth,* causing instability.
- You might underestimate the need for a higher capacity arm, especially for curved monitors with greater depth.
- You could overlook attaching extra accessories, adding weight beyond the rated capacity.
- You may select a mount that doesn’t account for the torque created by depth, risking damage or unsafe setups.
- Ensuring the mount’s material durability is sufficient for your setup helps maintain long-term stability and safety.
Choosing the Right Mount or Arm: Support Capacity and Compatibility
Choosing the right mount or arm hinges on accurately matching its support capacity to your monitor’s weight and size. Start by checking your monitor’s net weight (excluding the stand) and confirm it fits within the monitor arm’s specified capacity, including a 20-25% safety margin for stability. Additionally, consider the weight capacity limits of the riser or mount, as exceeding them can cause wobbling, tipping, and damage over time. Curved and ultrawide monitors demand mounts with higher weight and torque capacity because their deeper profile shifts the center of gravity forward, stressing pivot joints. Don’t forget to take into account the combined weight of accessories like webcams or lighting, which can impact the load. Compatibility with your monitor’s VESA pattern and depth dimensions is essential—oversized or recessed mounts might need spacers or adapters. Focusing on an appropriate weight range helps avoid sagging, mechanical failure, or unnecessary costs.
How to Verify VESA Compatibility for Your Monitor
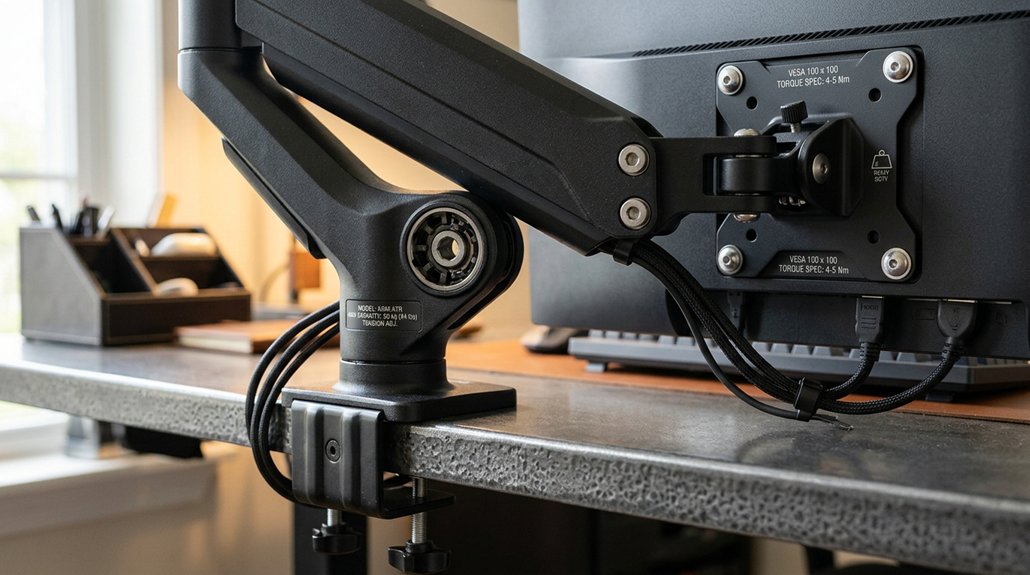
To guarantee your monitor fits your mount, start by checking the VESA pattern size on the user manual or measurement of the mounting holes. Make sure the mount you choose matches this pattern precisely to prevent fitting issues or damage. Additionally, verify that your monitor’s weight and size are within the load capacity of the arm or mount to ensure safe and stable support. If your monitor is larger or has recessed mounting areas, confirm compatibility and test-fit any needed spacers before installation.
Checking VESA Mount Patterns
Wondering if your monitor will fit your arm mount? To confirm VESA compatibility, you need to check your monitors’ mounting pattern. Here’s how:
- Look for the back panel stickers or consult your monitor’s documentation—mount pattern info is often printed there.
- Measure the center-to-center distance of the mounting holes in millimeters—most monitors between 27 to 32 inches use 75×75 mm or 100×100 mm patterns.
- Remember, larger or ultrawide monitors might need bigger patterns like 200×100 mm or 200×200 mm—mounts come in different sizes.
- For recessed areas, see if you need spacers to secure the mount properly and guarantee a flush fit.
Always verify your monitor’s VESA pattern before buying mounts, so it fits securely and safely. Additionally, consider monitor calibration tools to ensure your display maintains accurate and comfortable color profiles for long-term viewing health.
Matching Monitor Sizes
Understanding your monitor’s size and VESA pattern is key to ensuring compatibility with your mount. You should measure the center-to-center distance of your monitor’s mounting holes in millimeters, usually 75×75 mm or 100×100 mm for 27-32 inch screens.
Check your monitor’s manual, packaging, or back panel for VESA pattern specifications to confirm compatibility with your monitor arm or monitor mounts.
Larger or ultrawide monitors often need bigger VESA patterns, like 200×100 mm or 200×200 mm, which must match the mount’s plate. If your monitor isn’t VESA compliant, consider universal adapter kits that clamp to the screen, though these might be less stable.
Using proper VESA mounting methods guarantees safe, secure support for your monitor’s weight.
Ensuring Proper Mounting
Verifying VESA compatibility begins with measuring the distance between the monitor’s mounting holes, which are typically 75×75 mm or 100×100 mm for most 27- to 32-inch screens.
Next, check your monitor’s specifications or manual to confirm the exact weight matches the arm’s maximum capacity.
To guarantee compatibility:
- Confirm your monitor’s exact weight, excluding the stand, and add a safety margin of 20–25%.
- Verify the VESA pattern dimensions for a secure fit and avoid damage.
- Be aware that recessed mounting areas may need spacers for proper installation.
- Only use universal adapters if the monitor lacks VESA holes, understanding they provide less stability.
Proper mounting guarantees your monitor stays safe and secure, avoiding accidents or damage.
Calculating the Total Load: Monitor, Accessories, and Attachments
To accurately determine the load your monitor arm must support, you need to sum the monitor’s net weight (excluding stand) with the weights of any accessories you plan to attach, such as webcams, lights, or fill lights. This total weight forms the basis for choosing a suitable arm. Remember to add a safety margin of at least 20-25% to account for dynamic forces and long-term wear, especially for curved monitors, which require an extra buffer of 4.4–6.6 lbs due to shifted gravity.
| Item | Weight Approximate |
|---|---|
| Webcam | 0.7 lbs / 300 g |
| Light | 1.1 lbs / 500 g |
| Fill light | 1.1 lbs / 500 g |
| Monitor (example) | Varies, check specs |
| Total with buffer | Sum + 20-25% |
Always confirm your monitor arm’s weight capacity exceeds this total to prevent sagging or damage.
Understanding How Monitor Depth and Center of Gravity Affect Support Needs
The depth of your monitor plays a crucial role in determining how much support it needs, because it directly affects the center of gravity and the rotational torque exerted on the arm.
Monitor depth impacts support needs by influencing center of gravity and rotational torque on the mount.
Deeper monitors, especially curved ones, shift the weight further from the mounting pivot, increasing torque. This added stress demands a more robust arm to prevent sagging or instability.
Consider these points:
- Deep or curved monitors exert higher torque, similar to holding a weight at arm’s length.
- The center of gravity shifts forward with increased depth, impacting stability.
- Different monitors of the same size can have varying depths, so measurement matters.
- Assume a minimum depth of 100mm for curved monitors if specs aren’t provided.
Understanding these factors guarantees your mount supports your monitor safely and effectively.
Selecting the Best Mounting Options for Heavy and Large Screens
When choosing a mount for large or heavy screens, selecting an option with a sufficient weight capacity is essential to guarantee safety and stability. You’ll need heavy-duty arms that support at least 20-25% more than your monitor’s weight to handle dynamic forces and prevent sagging or failure.
For ultrawide and curved monitors, opt for mounts with reinforced tilt joints and higher lifting capacity, as they generate more torque.
Desk clamp mounts are popular, but make sure your desk edge is flat, thick enough, and possibly reinforced to secure a secure fit without slippage.
Combining the right weight capacity with peak ergonomic adjustability guarantees safe support for your large monitor while maximizing desk space and user comfort.
What to Do if Your Monitor Exceeds Your Mount’s Capacity
If your monitor’s weight exceeds your mount’s limit, first carefully assess its actual weight to guarantee accuracy.
Next, consider upgrading to a heavy-duty arm that offers better support or explore alternative mounting options like wall mounts or reinforced stands.
Always check for compatibility and avoid shortcuts like tension screws, which can cause damage or instability.
Assess Monitor Weight Carefully
Exceeding your monitor’s weight capacity can lead to sagging, mechanical stress, or even damage to the mount. To avoid this, carefully assess your monitor’s net weight without the stand, including any accessories like webcams or lights.
If your monitor’s weight exceeds the limit, don’t force it—consider these options:
- Use a heavy-duty arm rated for at least 20-25% more than your monitor’s net weight.
- Opt for reinforced tilt joints designed to handle greater weight, especially for curved or ultrawide monitors.
- Avoid overloading your current mount to prevent drooping, stress, or damage.
- Explore alternative mounting solutions, like wall mounts or stands built for higher weight loads.
Always guarantee your monitor and arm are a compatible match for safe, stable support.
Consider Mount Upgrades
Upgrading your arm becomes necessary when your current arm can’t handle the weight of your monitor and accessories. If your monitor exceeds the arm’s weight capacity, switch to a heavy-duty mount that supports at least 28.6–33 lbs (13–15 kg), including accessories like webcams, lights, or soundbars, which add extra weight.
For curved or ultrawide monitors, seek arms with higher torque ratings and reinforced tilt joints to manage the shifted center of gravity and increased forces. Opt for mounts with adjustable gas springs to guarantee stable support and smooth adjustments. Proper installation, using clamps or grommets, further enhances stability.
Always check manufacturer specifications or consult experts to confirm the mount’s compatibility and guarantee safety for larger, heavier screens.
Check Mount Compatibility
- Accessories such as webcams or lights add to the monitor’s weight, increasing the load beyond the rated Right Weight.
- Overloading could cause sagging, drift, or mechanical failure, so always leave a safety margin of 20-25% below the maximum capacity.
- When in doubt, consult manufacturer specifications or support to guarantee proper mounting compatibility.
- Always verify that your setup respects the safety margin to secure durability and safety.
How Proper Support Enhances Ergonomics and Reduces Strain
Proper support from your monitor arm guarantees your screen stays securely in the right ergonomic position, preventing it from sagging or drooping. When the weight capacity matches your monitor’s load, it maintains stable placement at an ideal height and position, reducing neck strain and shoulder discomfort.
It also allows you to easily adjust for peak viewing angles, encouraging better posture and minimizing repetitive strain injuries. When your arm supports curved or ultrawide monitors, it prevents forward tilt torque that could cause sagging, ensuring a consistent ergonomic setup.
Adequate support not only improves comfort but also helps you reposition your monitor frequently and effortlessly. This flexibility enhances workspace ergonomics, reduces physical fatigue, and keeps your eyes relaxed even during long hours of work or activity.
Installation Tips: Ensuring Safe, Stable Mounting on Your Desk
To guarantee a safe, stable mount, start by checking your desk’s material and surface to confirm it’s compatible with your clamp. Use proper mounting techniques, making sure everything is tightened and secure before placing your monitor.
Always clear space behind your desk and avoid fragile surfaces to prevent slipping or damage.
Desk Material Compatibility
Choosing the right desk material is essential for a secure and stable arm mount, as not all surfaces can support the weight or withstand the clamping process. You want to guarantee clamp stability, so avoid glass desks, hollow-core, or dent-prone tabletops, which lack the support for heavy mounts.
If your desk is thin, use reinforcement plates or wood blocks to improve grip. Keep in mind:
- Flat desk edges with no more than a 1-inch bevel provide peak clamp stability.
- Glass desks aren’t ideal unless reinforced, as they can crack or slip.
- Undersupport beams may block mounting points, requiring alternative solutions.
- Mounts are ideal on sturdy, solid surfaces that can evenly distribute pressure and prevent damage.
Verifying these factors guarantees your monitor stays secure and stable during use.
Proper Mounting Technique
Making certain your arm mount is installed correctly is key to maintaining stability and safety. When mounting the right monitor arm, make sure the desk edge is flat with no more than a 1-inch bevel and has at least 2 inches of clearance behind the clamp.
Avoid attaching to glass, hollow-core, or thin tabletops unless you reinforce with wood blocks or plates to prevent damage and make certain stability. Verify that no under-desk obstructions interfere with the clamp placement, and tighten all tension screws firmly to prevent sagging, especially if your monitor is fully extended or much weight.
Follow the manufacturer’s instructions carefully, using recommended tools, and manage cables properly to avoid tension that could cause drift or instability. Proper mounting techniques guarantee your monitor stays secure and safe.
Preventing Sagging and Maintaining Adjustability Over Time
Since exceeding a monitor arm’s weight capacity can cause sagging, it’s essential to stay within the recommended limits to maintain stability and adjustability over time.
Overloading leads to sagging because the upward force isn’t enough to counteract the monitor’s weight and torque, especially with curved or ultrawide screens.
To prevent this:
- Keep the combined load 20-25% below the maximum rated weight capacity.
- Regularly tighten tension screws to offset spring wear and prevent downward drift.
- Verify accessories like webcams or lights don’t push the total weight beyond limits.
- Choose reinforced tilt joints designed for heavier or curved monitors for sustained smooth movement and precise positioning.
Following these tips helps preserve tension and prevents sagging, ensuring your arm remains adjustable long-term.
Choosing an Arm With the Range of Motion You Need for Heavy Monitors
For heavy monitors, selecting an arm that offers the right range of motion is essential to maintaining both ergonomic comfort and stability.
You’ll want an arm with a sufficient weight capacity to handle heavy monitors, especially ultrawide or curved types, without sagging or failure. Reinforced joints are vital because they withstand the increased torque from deeper and heavier screens.
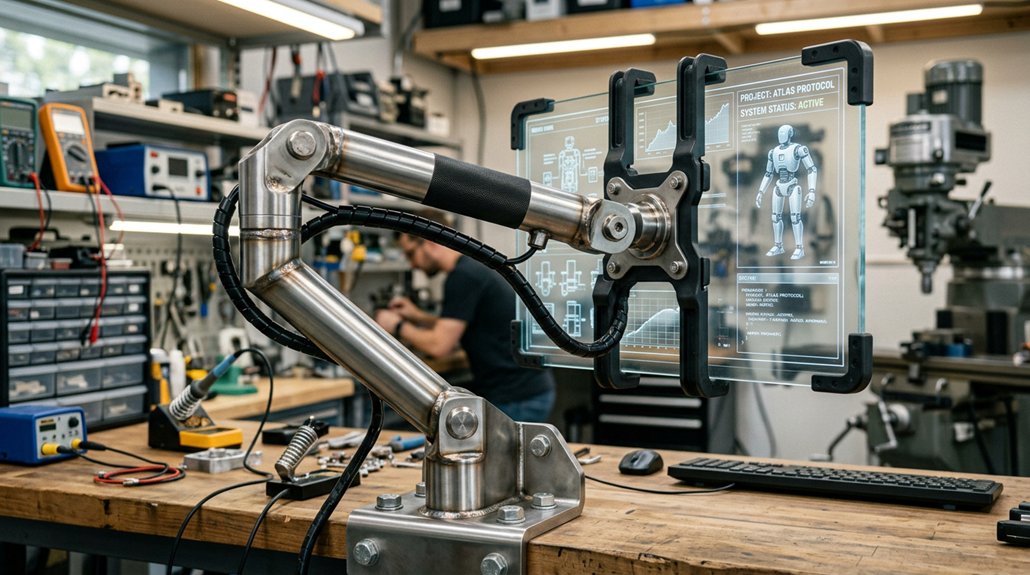
Look for fully articulated arms with pneumatic or gas spring supports—they make positioning easier and keep your monitor steady. An adjustable tension screw (TAS) that matches your monitor’s net weight plus accessories guarantees controlled tilt, swivel, and height adjustments.
Arms with longer reach and stronger joints help you maintain ergonomic distance without compromising movement or workspace clearance, providing reliable support for your heavy monitor’s range of motion.
Material Quality and Build Strength: How They Impact Support and Safety
Material quality and build strength directly influence how well an arm mount supports heavy monitors safely and reliably. For example, steel mounts deliver top strength and durability, resisting bending and failure even under intense loads.
Aluminum components strike a balance between lightweight design and sufficient support, but they may not handle prolonged heavy use like steel. The inclusion of plastic parts can weaken overall support, increasing the risk of wear and breakage.
Guaranteeing mount stability depends on structural elements like reinforced joints and stress points. When you choose high-quality materials, you benefit from a longer lifespan, safer dynamic movement, and reduced risk of accidents caused by mount failure. Prioritize material quality to ensure your monitor stays secure and your workspace remains safe.
Expert Tips for Maintaining and Upgrading Your Heavy Monitor Mount
Regularly inspecting your monitor arm’s tension adjustment screws is essential to prevent sagging and maintain stability, especially when supporting hefty monitors of 30 pounds or more. Tighten the screws as needed to counteract the heavy load’s torque. When upgrading to a larger or curved ultrawide monitor, confirm your monitor mounts have a sufficient weight capacity, ideally with a 20-25% safety margin, and reinforced tilt joints to handle increased stress. Removing the monitor stand before mounting allows precise weight measurement to guarantee compatibility. Also, account for added accessories like webcams and lights, adding about 1.1 lbs each. Proper installation with standoff spacers and cable slack techniques prevents ghost sag. Here’s a quick guide:
| Tip | Focus | Benefit |
|---|---|---|
| Check tension screws | Tension adjustment | Prevent sagging |
| Verify weight capacity | Heavy load handling | Long-term durability |
| Reinforce tilt joints | Monitor support | Stability under load |
Frequently Asked Questions
What to Do if the Monitor Is Too Heavy for the Monitor Arm?
If your monitor is too heavy, switch to a heavy-duty arm with a higher weight capacity, consider wall mounts or reinforced clamps, and consult with product support to find a safer, more secure mounting solution tailored for your monitor’s weight.
How Much Weight Can Monitor Arms Hold?
Monitor arms typically support between 8.8 and 44 pounds, with 28.6–33 pounds being ideal for most large monitors. Always match your monitor’s weight to the arm’s capacity to prevent sagging, damage, or failure.
Why Doesn’t My Monitor Arm Fit My Desk?
Your monitor arm doesn’t fit your desk because of factors like the edge shape, desk thickness, obstructions, or insufficient clearance. Check these aspects, guarantee compatibility, and consider alternative mounts like grommet or wall options for a secure fit.
Is Ergotron Worth It?
Yes, Ergotron is worth it because of its durable build, reliable tension adjustments, and high weight capacity, ensuring your monitor stays stable and adjustable over time. You invest in quality that supports your ergonomic needs long-term.