To organize your cables with sleeves, first untangle and group similar cables by type or destination. Measure and select stretchable sleeves that fit 8-10 cables, then carefully insert the cables and zip up the sleeve, ensuring they stay neat and protected. Use labels and color coding to identify cables easily, and secure everything with clips or ties. Regular maintenance keeps your setup tidy and efficient—continue exploring for detailed tips to perfect your cable management system.
Why Cluttered Cables Hurt Your Workspace and How Sleeves Help
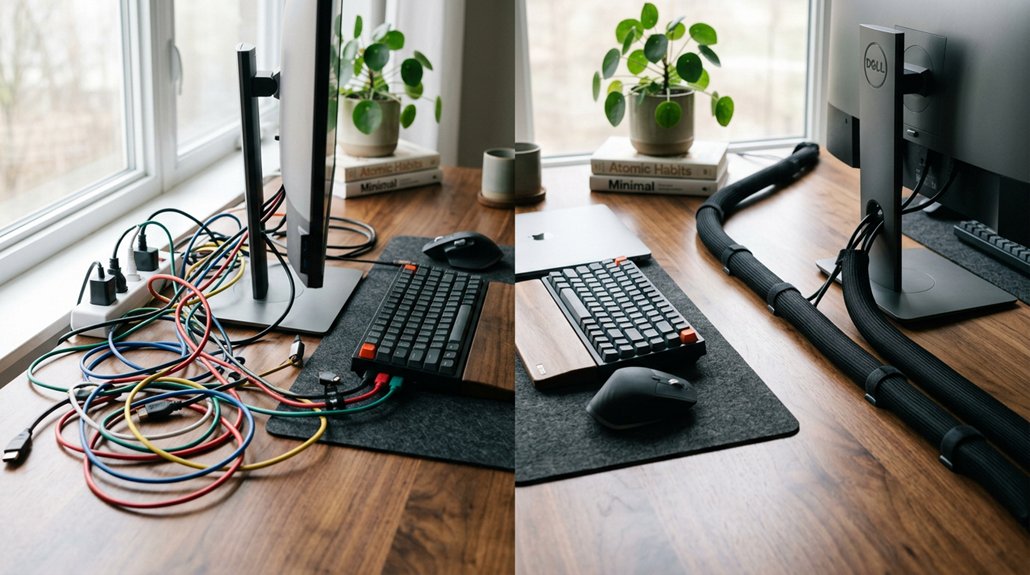
Cluttered cables can severely disrupt your workspace by creating visual chaos and posing safety hazards. Tangled cords make it difficult to unplug or add devices, wasting time and risking damage. Cluttered cables also compromise workspace safety by increasing tripping hazards. Using fire-resistant materials in cable sleeves can further enhance safety by reducing electrical fire risks. A reliable cable management solution, like cable sleeves, can help. These sleeves bundle and conceal 8-10 cables in flexible, stretchable material, protecting against wear and accidental damage. Sleeves with zipper access allow you to easily add or remove cables, simplifying maintenance. Using cable sleeves not only reduces cable clutter but also creates a clean look that improves aesthetics and focus. Keeping your workspace tidy with this solution promotes productivity and safety, making cable organization an essential step toward a more efficient environment.
Choosing the Best Cable Sleeve Material and Size for Your Office
When choosing a cable sleeve, selecting the right material and size makes a significant difference in effective cable management. Opt for a sleeve made from stretchable braided polyester for flexibility and durability, which can hold about 8-10 cables depending on thickness. Using flexible materials like silicone or stretchy fabric ensures the sleeve can accommodate varying cable sizes comfortably. Measure your cable bundle to pick the appropriate size, and consider using multiple sleeves connected via zipper access to accommodate a growing setup. For a professional office space, select colors like black or gray to match your desk frame and maintain a cohesive look. A quality cable sleeve should protect cables from wear and tear while allowing neat routing under your standing desk or behind monitors. Zipper access simplifies adding or removing cables, making cable management more convenient and adaptable in dynamic office environments.
Getting Your Space Ready for Cable Sleeve Installation
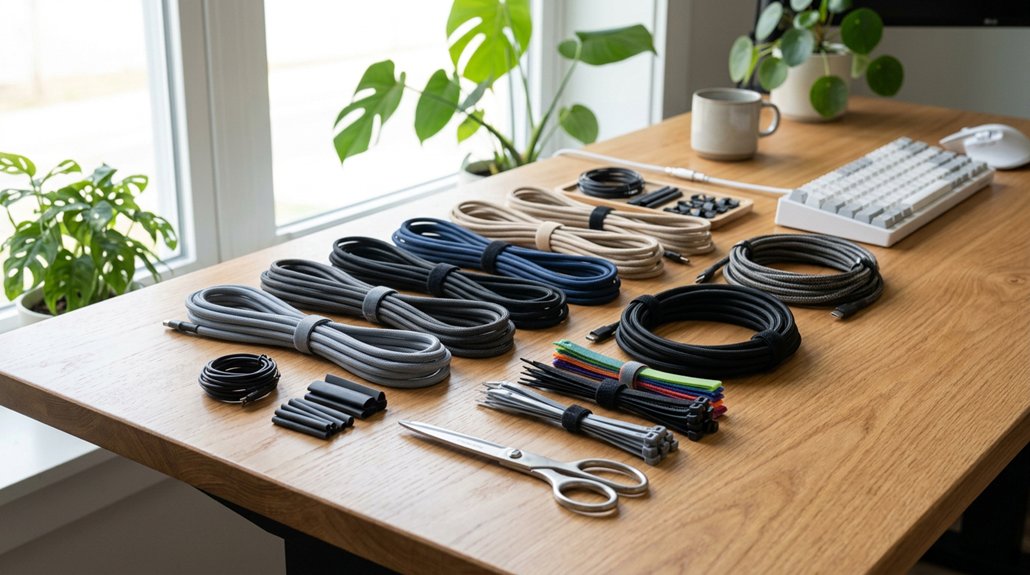
Before installing a cable sleeve, you need to prepare your space to guarantee a smooth and effective process. Start by unplugging all devices and power strips to maintain safety and make cable management easier. Assess your workspace to plan the cable routes; this helps minimize crossing and allows cable sleeves to bundle cords neatly. Determine the types and thickness of power cords to choose the right sleeve size, usually fitting 8-10 cables. Consider using flexible and durable cable management materials to ensure long-lasting organization. Clear your workspace and organize cables by device or function, labeling them if needed. Use cord clips to keep cords secure and prevent tangling. With your cables sorted, select a cable sleeve color that complements your desk and workspace for a cohesive look. Proper preparation makes keeping cords organized much simpler.
Gather Your Cables and Untangle Them First
Once you’ve unplugged all your devices, the next step is to lay out the cables and untangle them carefully. Gather your cables, spreading them out so you can see each one clearly. Untangle each cable to prevent damage and make bundling easier.
Unplug devices, then carefully spread out and untangle cables for a neat, damage-free setup.
Use zip ties or Velcro straps to keep bundled cables neat and secure, avoiding knots and twists. Group cables by type or destination, which simplifies routing later.
Manage excess slack, making certain cables aren’t overly loose or tight. This step guarantees the cables are smooth, organized, and ready for placement inside a cable sleeve.
Additionally, selecting ergonomic cable management solutions like sleeves and clips can help reduce desk clutter and improve overall workspace organization. Properly untangling and bundling your cables now will make the entire organizing process smoother and give your setup a clean, professional look.
How to Insert and Zip Up Cables Into a Flexible Sleeve
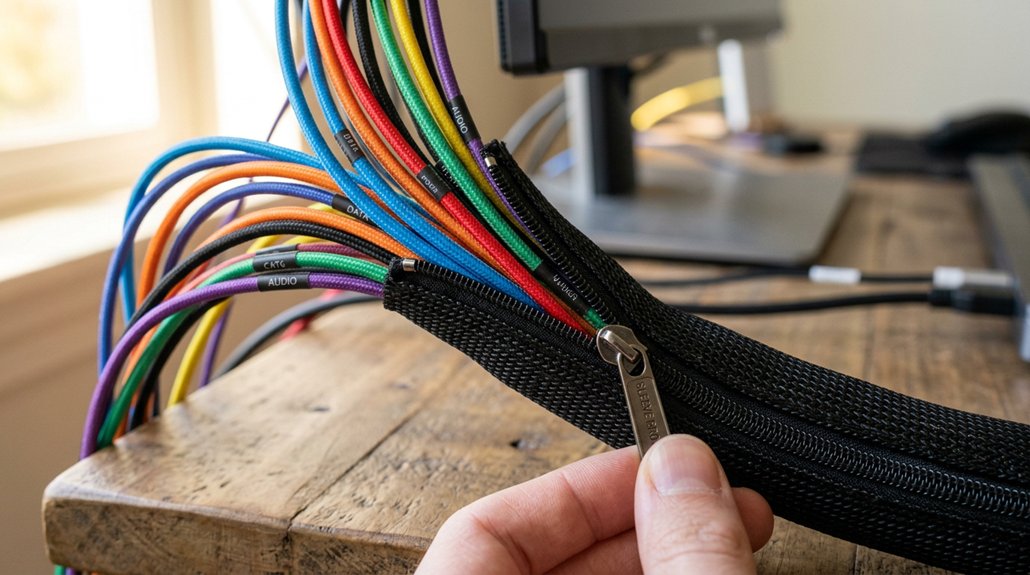
Start by unzipping the flexible sleeve completely to create an open space for your cables.
Gather and align your cables in a bundle before sliding them into the sleeve through the open zipper.
Carefully zip up the sleeve to secure the cables, keeping everything neat and accessible.
Additionally, ensure that the sleeve’s material (such as durable plastic) supports the weight and prevents damage to your cables over time.
Gathering and Arranging Cables
To gather and arrange your cables effectively, begin by grouping 8 to 10 cables based on their thickness. This method makes it easier to insert them into the stretchable braided polyester sleeve, keeping bundled cables neat and manageable.
Unzip the flexible cable management sleeve wide enough to create an opening for your cables. Carefully feed the grouped cables into the cable management sleeve, ensuring they stay aligned and minimizing tangled wires.
Once all cables are inside, zip up the sleeve smoothly to conceal and organize cords, giving your workspace a tidy appearance.
If you need more length or additional cables, connect multiple sleeves by unzipping and re-zipping the ends. This keeps your cables streamlined, accessible, and protected from damage. Be sure to consider cable management channels and clip solutions to further secure and route the cables along your setup.
Inserting Cables Into Sleeve
Before inserting your cables, fully unzip the flexible management sleeve to open it wide enough for easy access. Gather 8–10 cables, aligning and untangling them, then insert them carefully into the stretchable braided polyester sleeve. Make certain the cables and wires fit comfortably, avoiding overstretching the sleeve or damaging the cables. For larger bundles, connect and extend multiple sleeves by unzipping one and re-zipping to accommodate more cables. Keep in mind: Materials and Durability are crucial for selecting sleeves that withstand frequent handling and wear.
| Step | Action | Tip |
|---|---|---|
| Unzip | Open the sleeve fully | Creates space for easy insertion |
| Insert | Guide cables into the sleeve | Prevents tangles and damage |
| Organize | Arrange cables neatly inside | Maintains quick access |
| Zip | Carefully zip up the sleeve | Conceals cables and prevents tangles |
Zip Up and Secure
Once the cables are neatly aligned and placed inside the open sleeve, grasp the zipper and carefully pull it from one end to the other. This step guarantees effective cable management by securely zipping up the flexible braided polyester sleeve, forming a clean cable bundle. A durable material, such as braided polyester, ensures longevity and resistance to wear over time. As you zip up, keep gentle tension to prevent any cable bunching or damage. The zipper’s access feature allows you to quickly conceal cables and reduce clutter without unbundling everything. This not only improves appearance but also enhances maintainability, making it easier to add or remove cables later. Be sure to zip the sleeve fully to keep cables contained and protected. Properly securing the sleeve helps maintain flexibility and prevents accidental disconnections or interference, keeping your setup tidy and efficient.
Secure and Label Sleeved Cables for Easy Identification

Using color-coded labels and secure attachment methods makes it easy to identify and access your cables quickly. Make sure labels are fully visible and firmly attached so they stay in place during adjustments. Choosing contrasting sleeve and label colors improves visibility and keeps your setup professional. Incorporating labels that are compatible with the fire-resistant materials can enhance safety and durability over time.
Use Color-Coded Labels
Applying color-coded labels to your cable sleeves allows you to quickly identify and differentiate cables based on their purpose, device, or user. Using these labels makes organizing cables more efficient and reduces cable clutter.
You can secure labels with adhesive cable clips, colored tape, or zip ties with labeled tags, ensuring they stay attached during adjustments or sleeve removal. Color coding simplifies cable management by making it easy to see which cable belongs where, especially under desks or entertainment centers.
When labels use contrasting colors against the sleeves, visibility improves further. This visual system streamlines unplugging, re-plugging, and troubleshooting. Additionally, selecting durable labeling materials ensures labels remain legible over time despite handling and environmental conditions.
Consistent color-coded labeling helps maintain a tidy setup, supports future cable additions, and prevents confusion during maintenance.
Attach Labels Securely
To guarantee your cables stay organized and easy to identify, it’s important to attach labels securely near key points like the zipper or visible areas of the braided polyester. Use durable sticky labels or cable ties with built-in labels for reliable attachment. Confirm labels are water-resistant or laminated to prevent smudging and fading over time.
| Label Type | Placement Tips |
|---|---|
| Durable sticky labels | Attach close to zipper for quick reading |
| Cable ties with built-in labels | Secure at visible points on the sleeve |
| Color-coded labels | Match with sleeve colors for cohesion |
| Water-resistant labels | Prevent damage from moisture |
| Regular rechecking | Replace labels as needed for accuracy |
Secure labels firmly to maintain clear, long-lasting identification.
Keep Labels Visible
Ensuring labels stay visible on sleeved cables is essential for quick identification and easy troubleshooting. Place labels on the outside or near the zipper access of cable sleeves, so you can identify cables without opening the sleeve.
Use waterproof or durable sticky labels, colored tape, or zip ties with integrated labels for quick recognition. Position labels at both ends of cables before bundling them into sleeves to simplify device identification and wire management.
Group similarly labeled cables within the same sleeve to maintain clarity in cable organization and prevent label obstruction. Regularly update and replace labels as configurations change, ensuring all sleeved cables remain correctly identified.
Keeping labels visible streamlines cable management and minimizes confusion during maintenance or troubleshooting.
Maintaining and Expanding Your Cable Management System Over Time
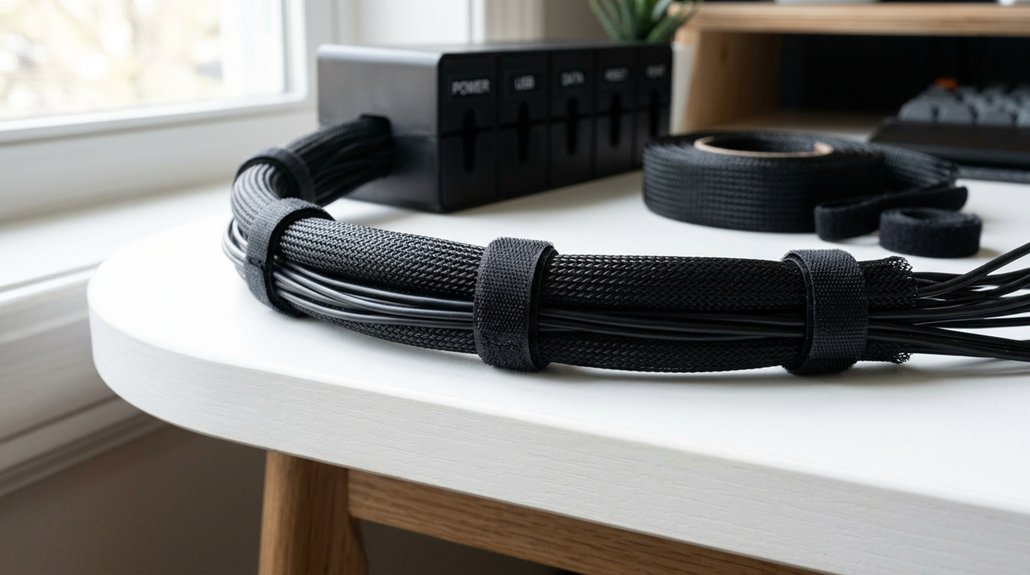
As your workspace or setup evolves, maintaining and expanding your cable management system becomes essential to keep things organized and functional. Cable management sleeves are stretchable and typically hold 8-10 cables, enabling scalable organization as your cable needs grow. You can connect multiple sleeves by unzipping and re-zipping, making it easy to expand your cable system without hassle. The zipper access allows quick addition or removal of cables, simplifying maintenance. Regularly reassessing your cable configuration and adjusting sleeve placement can prevent tangling and optimize routing. To help visualize this, consider the following:
| Expand Your Cable System | Maximize Accessibility | Maintain an Organized Workspace |
|---|---|---|
| Connect sleeves easily | Quick zipper access | Color-code for clarity |
| Scale with needs | Add cables seamlessly | Keep cables neat and tidy |
| Adjust for growth | Maintain flexibility | Prevent clutter |
Combining Sleeves With Other Organization Tools for a Neat Desk
Combining cable sleeves with other organization tools can greatly improve the neatness and accessibility of your workspace. Start by using colored cable ties inside the sleeves to identify cables easily, making troubleshooting simpler.
Attach adhesive cord clips under your desk to route cables securely, preventing sleeve movement. For larger cable bundles, incorporate cable trays or a cable management box to conceal and protect all cords, keeping your desk tidy.
When expanding your setup, connect stretchable sleeves by unzipping and re-zipping ends; secure them in place with Velcro straps for added flexibility. These combinations streamline your cable management, reduce clutter, and create a cleaner, more efficient workspace.
Long-Term Tips for Caring for and Troubleshooting Your Cable Sleeves
To keep your cable sleeves in top condition over time, regular maintenance is essential. Unzip the sleeves periodically to add or remove cables without damaging the braided polyester, which preserves flexibility and supports effective cable management.
Regularly unzip your cable sleeves to add, remove, and maintain flexibility for optimal cable management.
Inspect the zipper seams for signs of wear or fraying; replacing damaged sleeves guarantees long-term durability and maintains a tidy setup, especially given the 15-year UPLIFT Desk warranty.
Keep the sleeves clean by gently wiping with a damp cloth to prevent dust buildup that could affect zipper function and appearance.
When troubleshooting cable issues or tangles, unzip the sleeves first to isolate problems without disturbing your entire bundle.
You can also combine multiple sleeves by unzipping to connect or disconnect sections, enabling scalable, hassle-free cable management.
Frequently Asked Questions
What Is the Best Way to Organize Cables?
You should bundle your cables using stretchable braided sleeves, connecting multiple for larger setups, and position them under desks or behind monitors. Zipper access makes maintenance easy, while matching sleeve colors keeps your workspace neat and professional.
How to Tidy Lots of Cables?
To tidy lots of cables, bundle them into stretchable braided sleeves, connect multiple for extended length, and use zippers for quick access. Color-code with labels or ties, matching your setup for a sleek, organized workspace.
How to Use a Cable Management Sleeve?
You gather and untangle 8-10 cables, stretch the sleeve open, and insert them. Use the zipper to add or remove cables easily, then position the sleeve behind your desk or entertainment center for a tidy, protected setup.
What Is the Best Way to Bundle Cables?
To bundle cables effectively, gather them neatly, slide them into a stretchable sleeve, and zip it up. Label cables beforehand for easy identification, and combine sleeves for larger groups, ensuring a tidy, scalable, and professional look.