
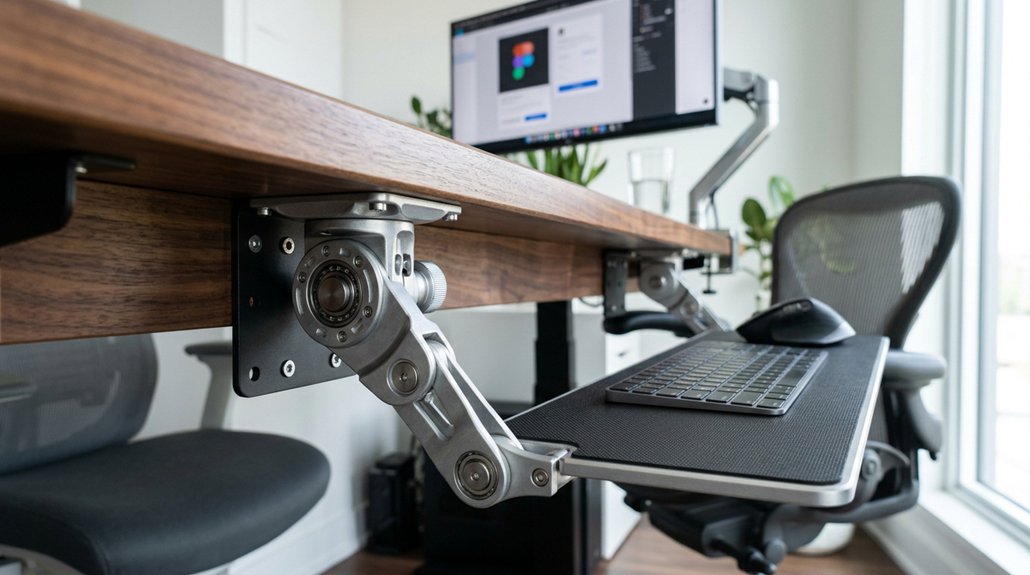
To optimize your keyboard tray swivel mount, first verify your desk has enough space, with at least 14 inches depth, and check underneath for obstructions. Choose a swivel mechanism that pivots smoothly and has adjustable height and tilt for comfort. Align the tray directly in front of your monitor and position it to keep your elbows bent comfortably at 90°. Fine-tuning the height, tilt, and position will help prevent strain, and if you’re interested in perfecting your setup, you’ll find helpful tips as you continue.
Measure Your Desk Space for Keyboard Tray Mounting
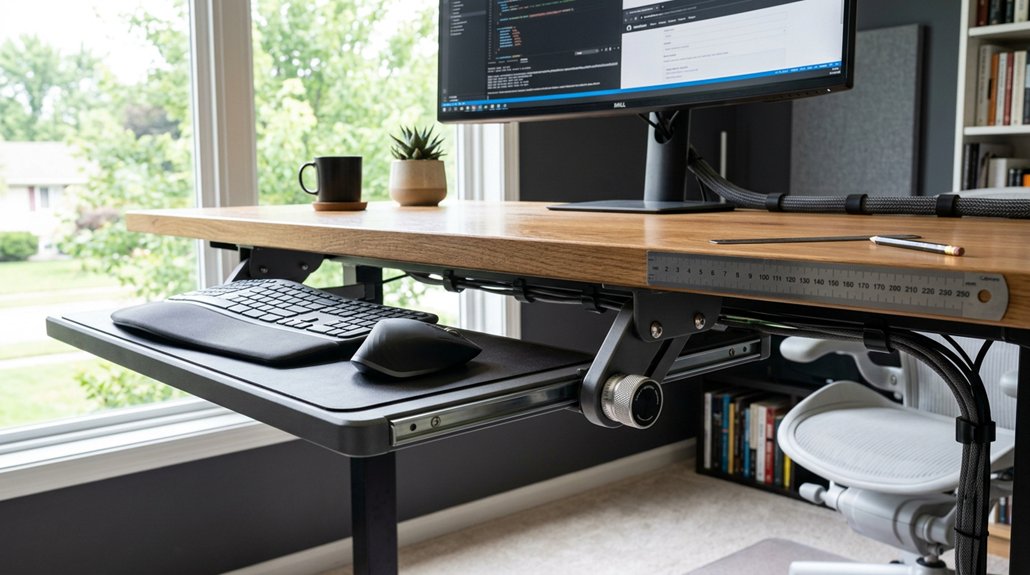
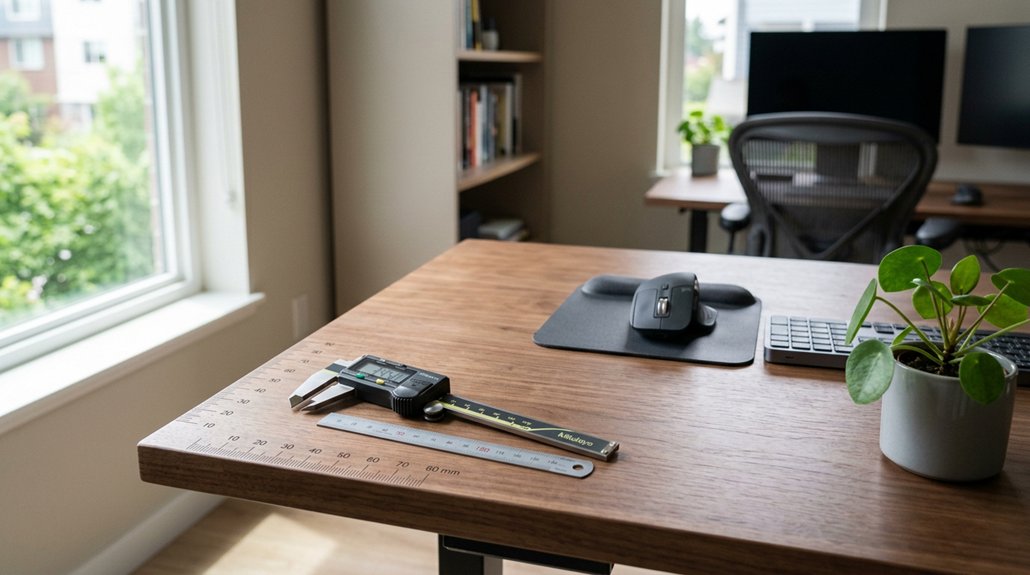
Before installing a keyboard tray, you need to accurately measure your desk space to guarantee proper fit and support. Start by checking your desk surface’s depth, making certain at least 14 inches for a standard track mounting; some advanced keyboard trays may require over 20 inches. Inspect underneath the desk’s surface for any frame components or obstructions, especially with standing or L-shaped desks, to confirm enough clearance for the swivel mount. Verify that your desk height and surface are sturdy—ideally at least 1 inch thick—to securely support the keyboard tray system. For corner or L-shaped desks, measure the mounting area carefully, accounting for tight or angled spaces. Also, make certain there’s lateral space on the edge for full extension and swiveling without interference from monitors or accessories. Mounting system compatibility should also be checked to ensure the chosen tray will securely attach to your desk without issues.
Choose the Best Swivel Mechanism for Your Setup
Are you choosing the right swivel mechanism for your keyboard tray? Start by visualizing a mount that offers smooth, controlled pivoting, allowing easy lateral movement without instability.
Consider a dual pivot point swivel arm, which provides greater flexibility and precise positioning—perfect for corner desks or angled setups. Check the swivel range to guarantee it fits your desk space and avoids obstructions when you adjust the tray.
Also, opt for a mechanism that supports height and tilt adjustments, helping you maintain ergonomic posture during long tasks. Finally, make sure the swivel mount is compatible with your desk’s thickness for secure mounting. Additionally, selecting a stand with adjustable pole height can further enhance your ergonomic setup by accommodating your ideal working height.
Align the Keyboard Tray With Your Monitor and Body
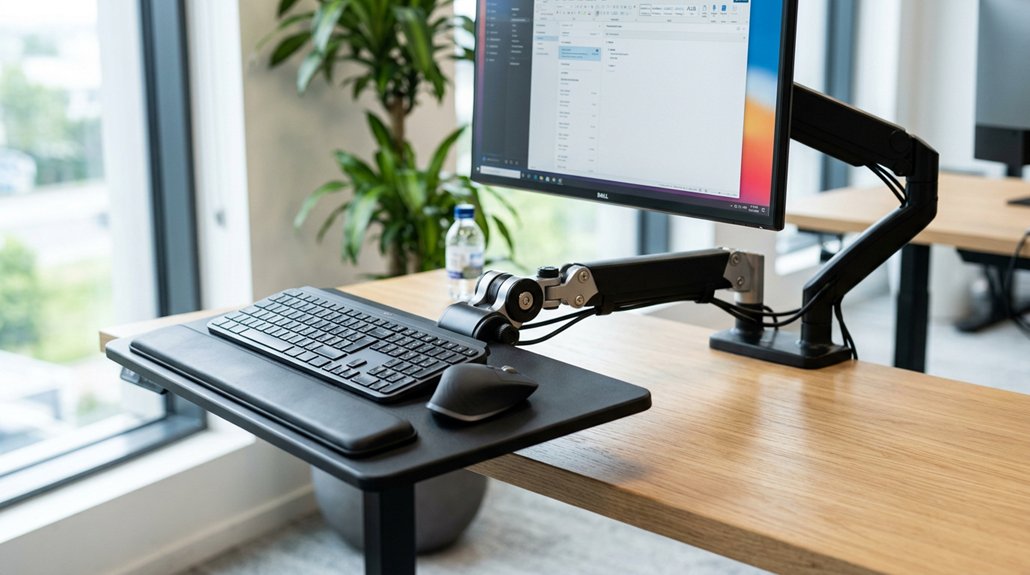
Once you’ve chosen a swivel mechanism that offers smooth and stable movement, focus on positioning your keyboard tray in alignment with your monitor and body. Proper placement helps maintain a neutral posture and reduces strain. Place the keyboard tray directly in front of your monitor, ensuring your elbows bend at about 90 degrees, with wrists slightly tilted downward. Keep the keyboard within your neutral reach zone (about 10–20 cm from the desk edge) to minimize shoulder tension. For dual monitors, position the tray centered between screens. Use the table below to visualize prime positions:
| Aspect | Ideal Position | Purpose |
|---|---|---|
| Monitor | Centered, at eye level | Reduce neck strain |
| Keyboard Tray | Aligned with monitor & body | Maintain neutral posture |
| Elbows | Bending at 90° | Minimize shoulder & wrist strain |
| Reach Zone | 10–20 cm from desk edge | Avoid shoulder fatigue |
A well-positioned keyboard tray can also integrate features like adjustable tilt or wrist support to enhance ergonomic comfort for wrist pain relief.
Adjust the Tray Height and Tilt for Comfort
Adjusting your tray height and tilt is essential for comfort and reducing strain during typing.
To achieve this, focus on these key steps:
- Set your *keyboard trays* so your *forearms are parallel* to the floor, with *elbows bent* around 90 to 100 degrees for a relaxed *typing position*.
- Adjust the *tray tilt* to a slight negative angle, between 0° and -10°, maintaining a *neutral wrist* and avoiding wrist extension strain.
- Do not use a positive tilt; it bends wrists upward and increases risk of *carpal tunnel* issues.
- Re-check and fine-tune these settings after any chair or desk changes to preserve ergonomic alignment and comfort during extended use.
- Consider ergonomic design features such as wrist rests and split layouts, which further promote a neutral posture and reduce finger fatigue during prolonged typing sessions.
Test and Fine-Tune Your Setup for Natural Movement
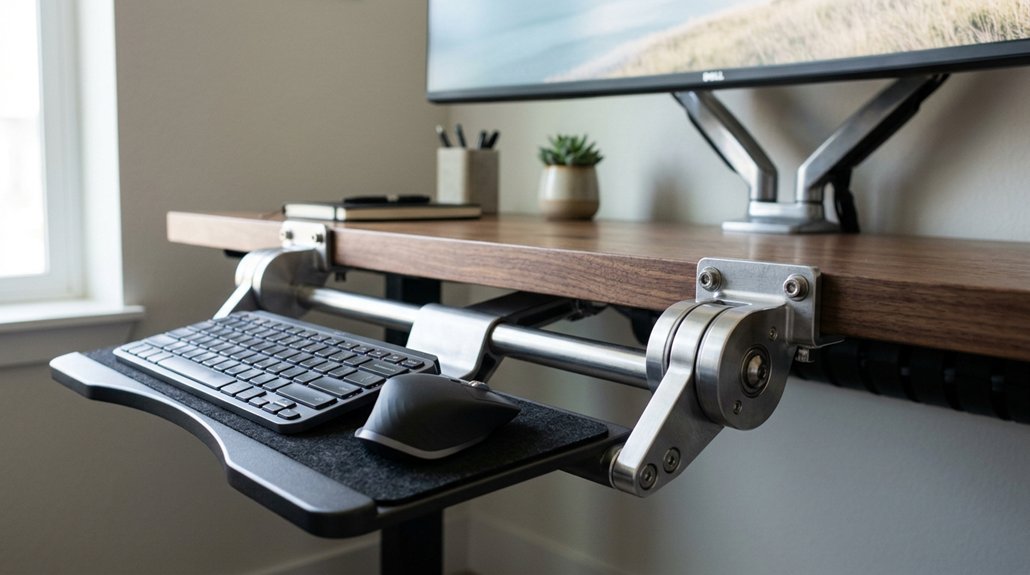
To guarantee your keyboard tray setup promotes natural movement, start by sitting in your usual working position and testing the swivel and pull-out features. Adjust the tray so the keyboard and mouse platform are properly positioned, guaranteeing they stay close without causing wrist or shoulder strain. Sit with elbows bent at 90°–100° and rotate the tray to confirm it aligns within the neutral position. Fine-tune the swivel tension and angle for effortless multi-directional movement without bouncing or resistance. Practice during typical tasks to identify awkward spots, aiming for fluid, natural motion that prevents shoulder elevation and neck strain. Use the table below to refine your ergonomic setup:
| Adjustment | Ideal Position | Notes |
|---|---|---|
| Swivel-mounted | Allows smooth rotation, stays within neutral reach | Guarantees ergonomic keyboard placement |
| Mouse platform | Close and readily accessible, no wrist extension | Supports proper ergonomic alignment |
| Swivel tension | Easy to move, without bouncing or resistance | Guarantees stability during use |
| Tray position | Within 10–20 cm from desk edge, elbows bent, aligned properly | Prevents strain and discomfort |
Additionally, ensuring your tray’s adjustability range accommodates your specific height and workspace is crucial for achieving optimal ergonomic positioning.
Frequently Asked Questions
What Is the Best Way to Position Your Keyboard?
You should position your keyboard directly in front of your monitor, at a height that keeps your forearms and hands straight with elbows at 90–100 degrees, using a slight negative tilt to reduce wrist strain and minimize shoulder tension.
Should Elbows Be at 90 Degrees When Typing?
Yes, your elbows should be at about 90 degrees when typing. This position keeps your forearms parallel to the floor, reduces strain on your shoulders and wrists, and promotes a comfortable, neutral ergonomic posture during keyboard use.
How to Properly Use a Keyboard Tray?
To properly use a keyboard tray, adjust its height so your forearms are parallel to the floor and wrists stay neutral, position it close to you with minimal reach, and set a slight negative tilt for comfort and safety.
Is Putting Keyboard Tray on Negative Tilt Ergonomic?
Yes, putting your keyboard tray on a negative tilt is ergonomic because it keeps your wrists straight and aligned with your forearms, reducing strain, risk of carpal tunnel syndrome, and promoting a comfortable, neutral typing posture over time.

Leave a Reply